*コンテンツは広告を含む場合があります。
【ビットコインNFTに必要】Xverse Walletの作り方を全画像付きで説明します:エックスバースウォレット
こんにちはかやです。
 なやみん
なやみんXverse Walletの作り方がわかりません
今回はこんな悩みを解決していきます。
この記事の内容
⚫︎Xverse Walletとは?
⚫︎Xverse Walletの作り方
⚫︎ Xverse Walletアドレスについて
初心者の方でもわかるように、画像付きで解説するので一緒にやってみましょう。
仮想通貨は国内取引所の開設が必須です
初心者におすすめはコインチェックです
不安な方は次の記事を参考にしてね
コインチェック口座開設の記事はこちら
この記事ではXverse Walle:エックスバースウォレットのを開設方法を説明していきます。
 かやねー
かやねービットコインNFTは海外で注目されているのでこのタイミングで始めてみよう!!
目次
Xverse Walletとは?
Xverse Wallet(エックスバースウォレット)とはビットコイン版NFT(Ordinais:オーディナル)を保管できるウォレットレットになります。
これまでは仮想通貨・NFTの購入時にはMetaMask(イーサリアム系、その他ブロックチェーンに対応) を使うことがほとんどでしたが、
ビットコイン系のブロックチェーンに対応しているのがこのXverse Walletになります。
ビットコイン版NFT(Ordinais:オーディナルズ)を購入するにはビットコインを扱えるXverse Walletが必要になります。
それではさっそく始めていきましょう。
Xverse Walle(エックスバースウォレット)をダウンロード
はじめにXverseの公式サイトに行きます

『Download』をクリックします
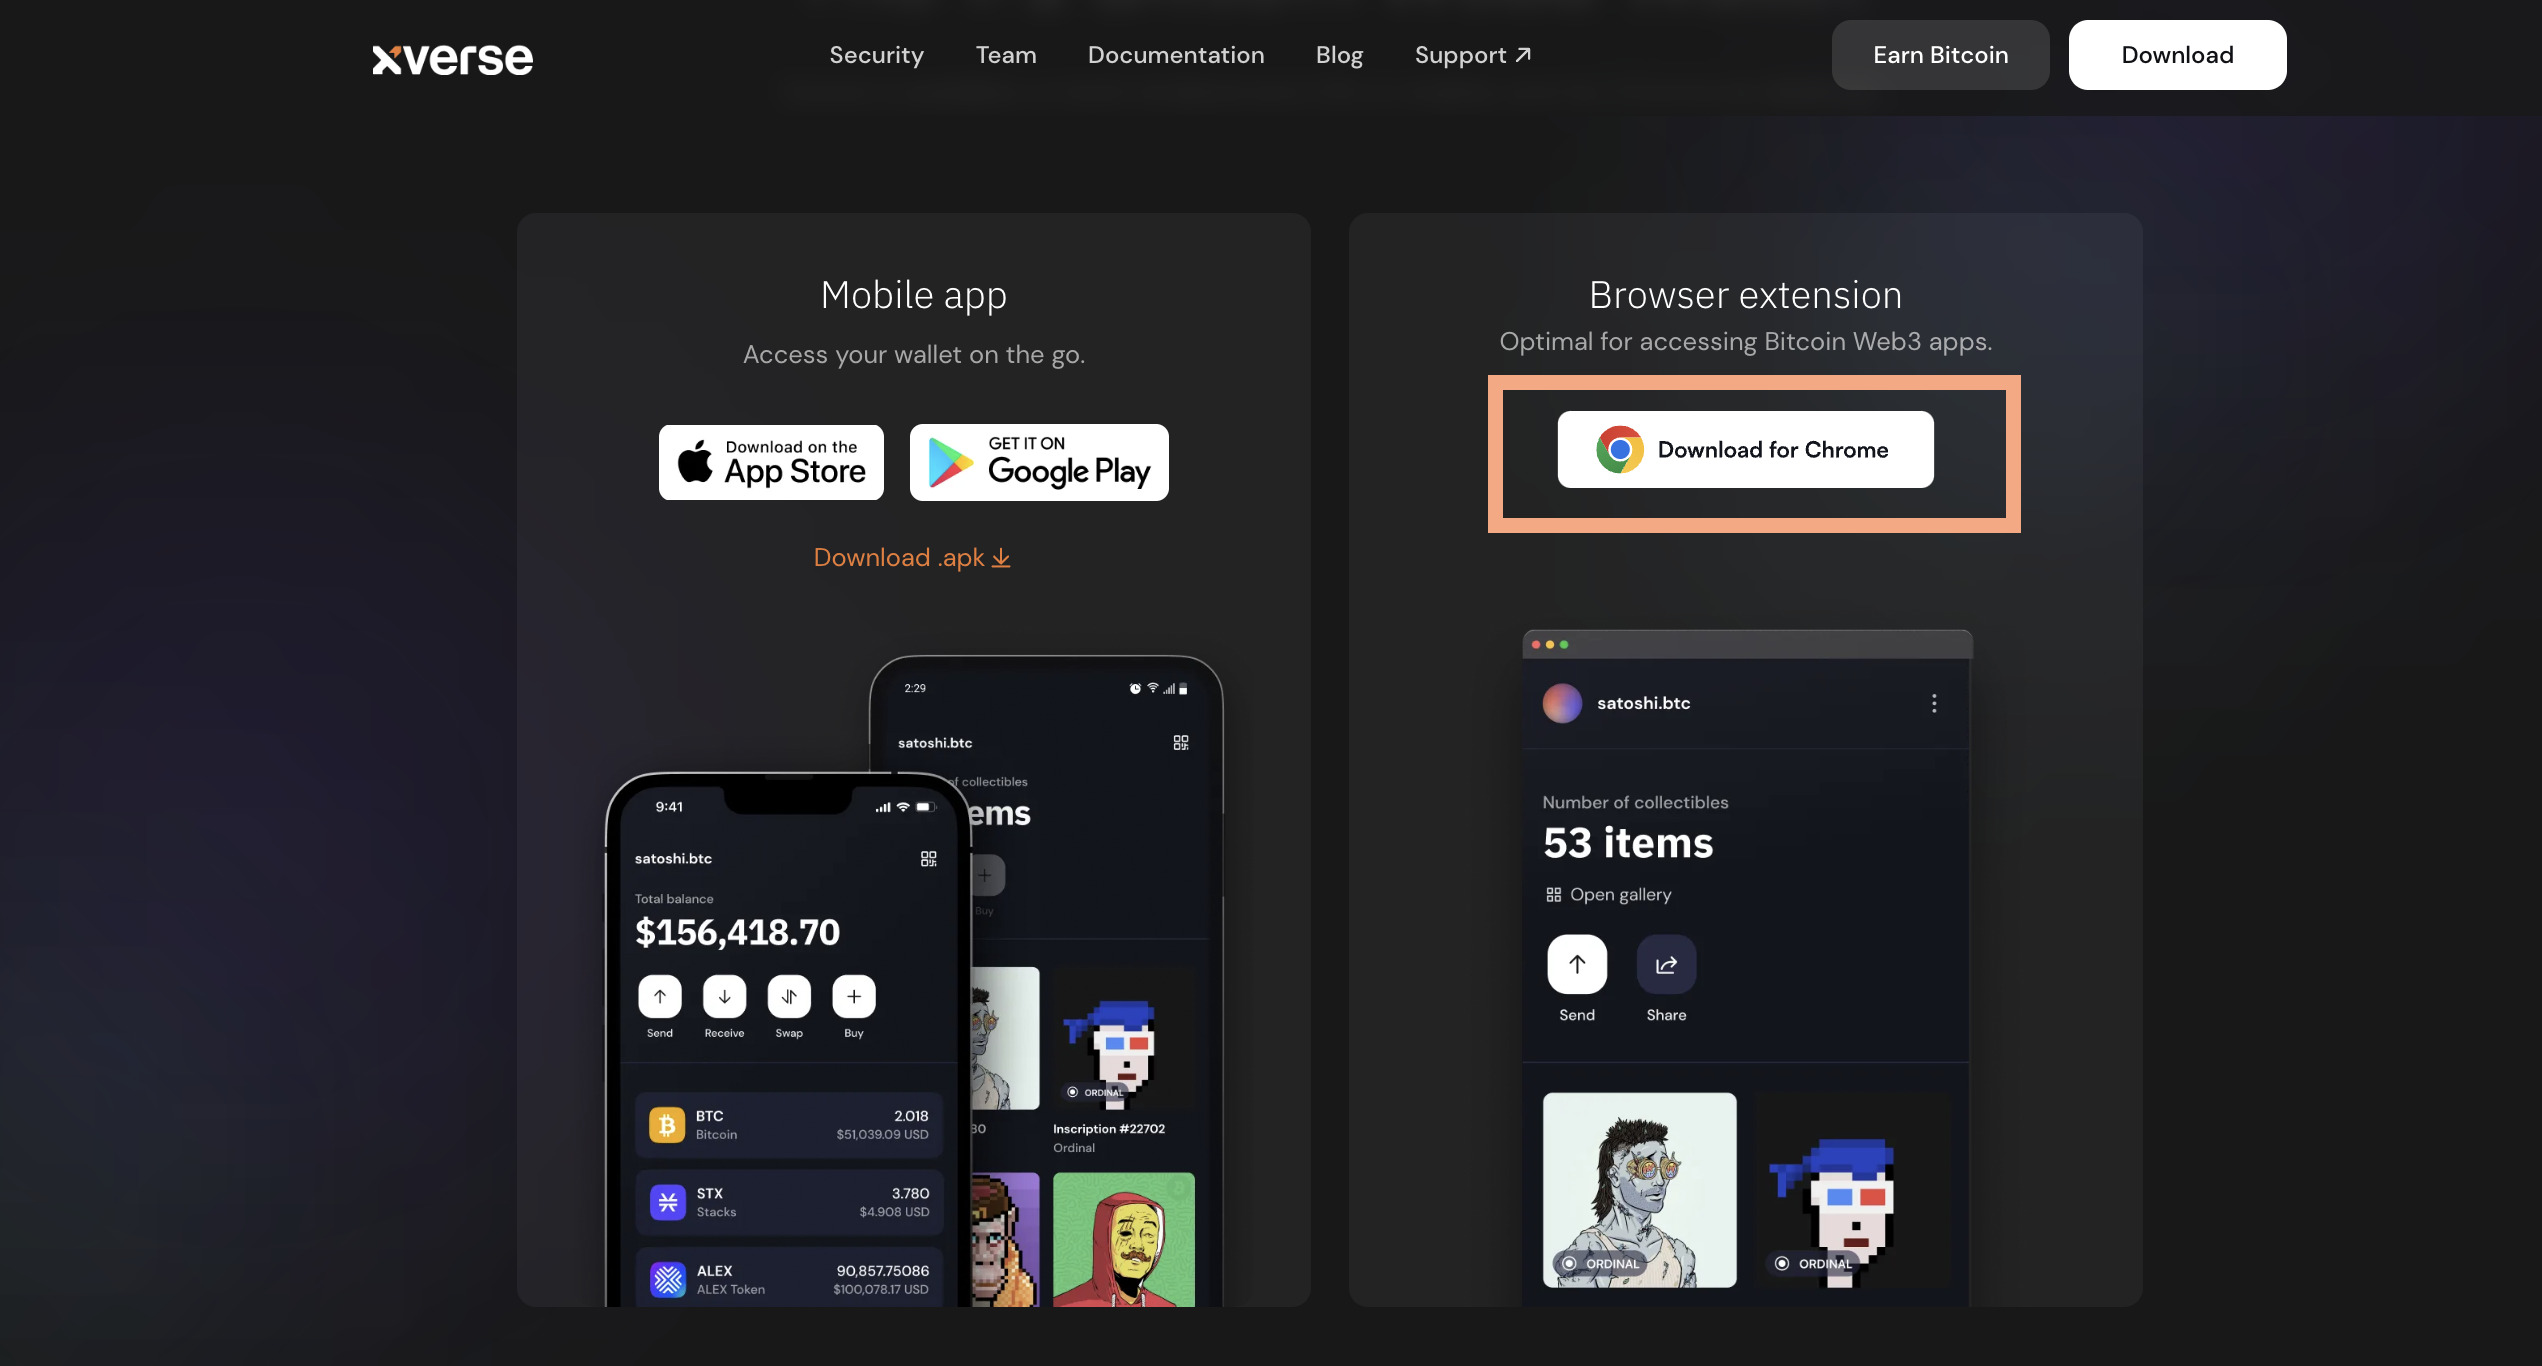
左の『Download for Chrome』をクリック
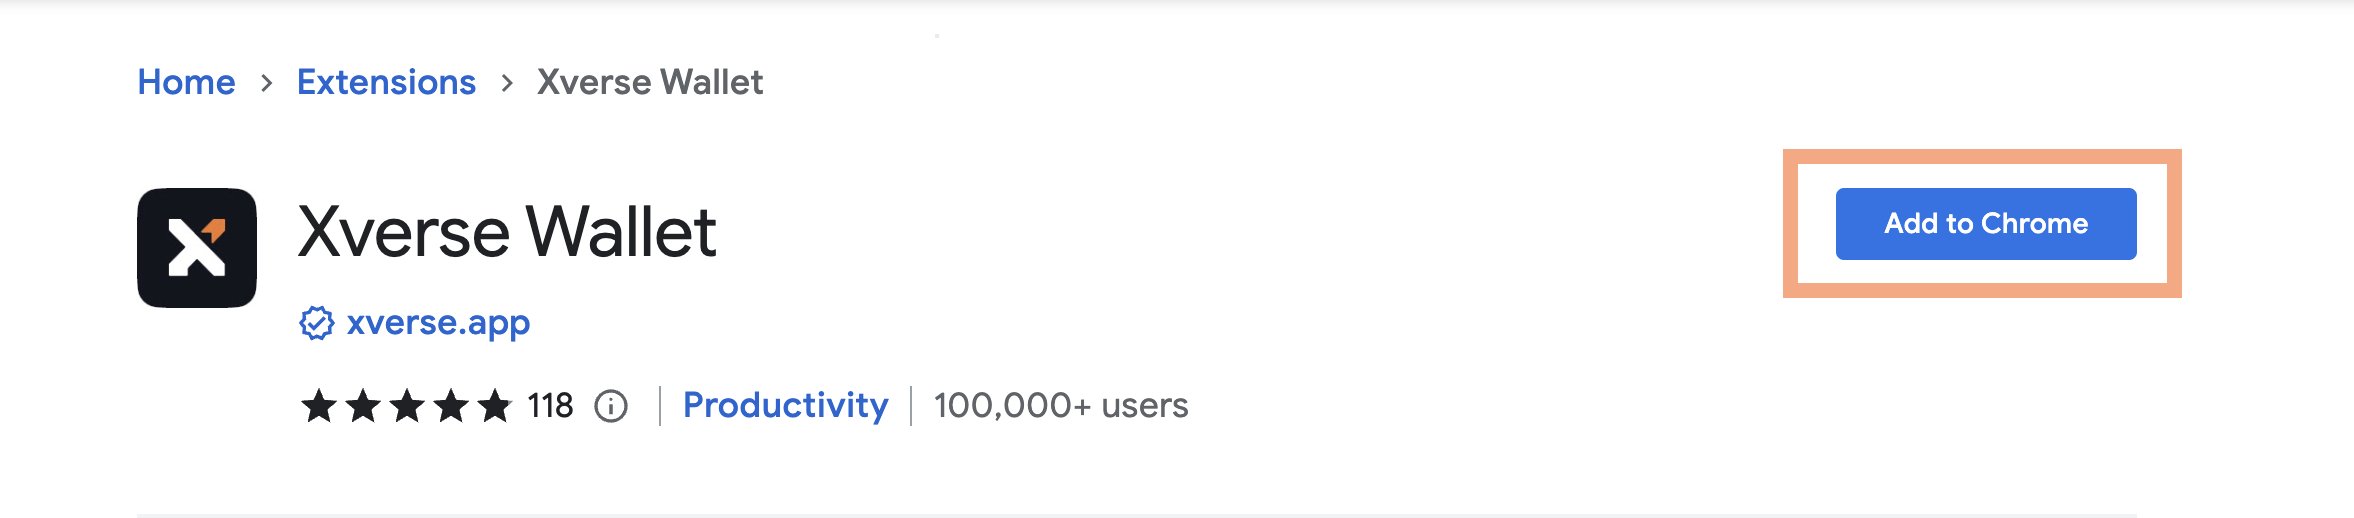
『Add to Chrome』をクリックしよう
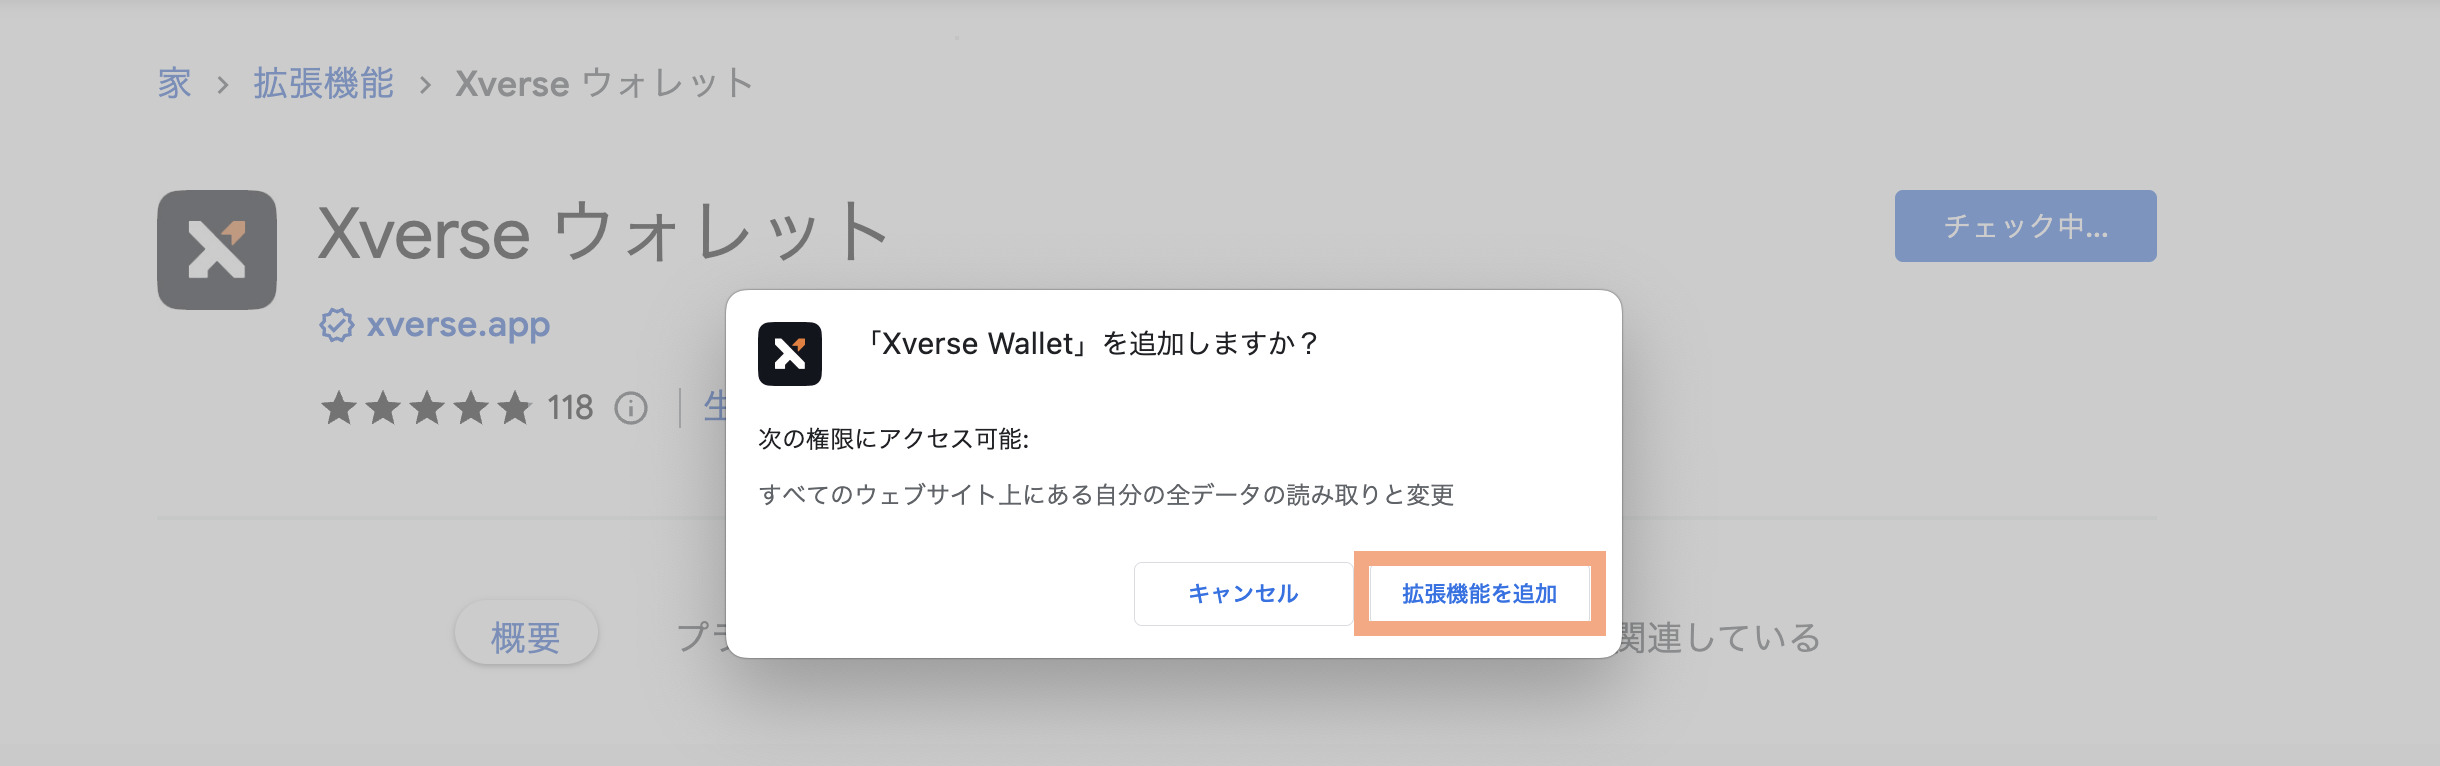
『拡張機能を追加』をクリックします
これでXverseウォレットをダウンロードしてChrome拡張機能に追加することができました。
Xverse Walle(エックスバースウォレット)を作成していきます
エックスバースウォレットを作成する方法は2通りあります。
今回のように新しくウォレットレットを作成する方法と
すでに作成している(メタマスクなど)ウォレットをインポートする方法もあります。
かやねーこの記事では新しくウォレットを作る方法で進めます
それではさっそく始めましょう
先ほどダウンロードしたエックスバースウォレットをひらきます
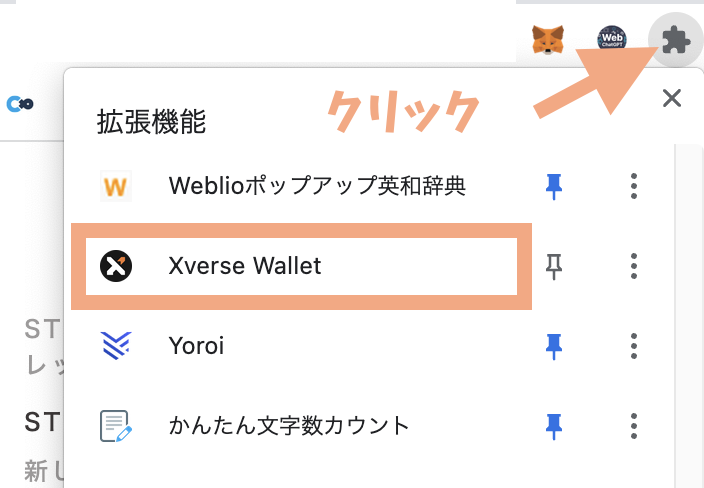
Chrome拡張機能のパズルピースをクリックして『Xverse Wallet』を選択します
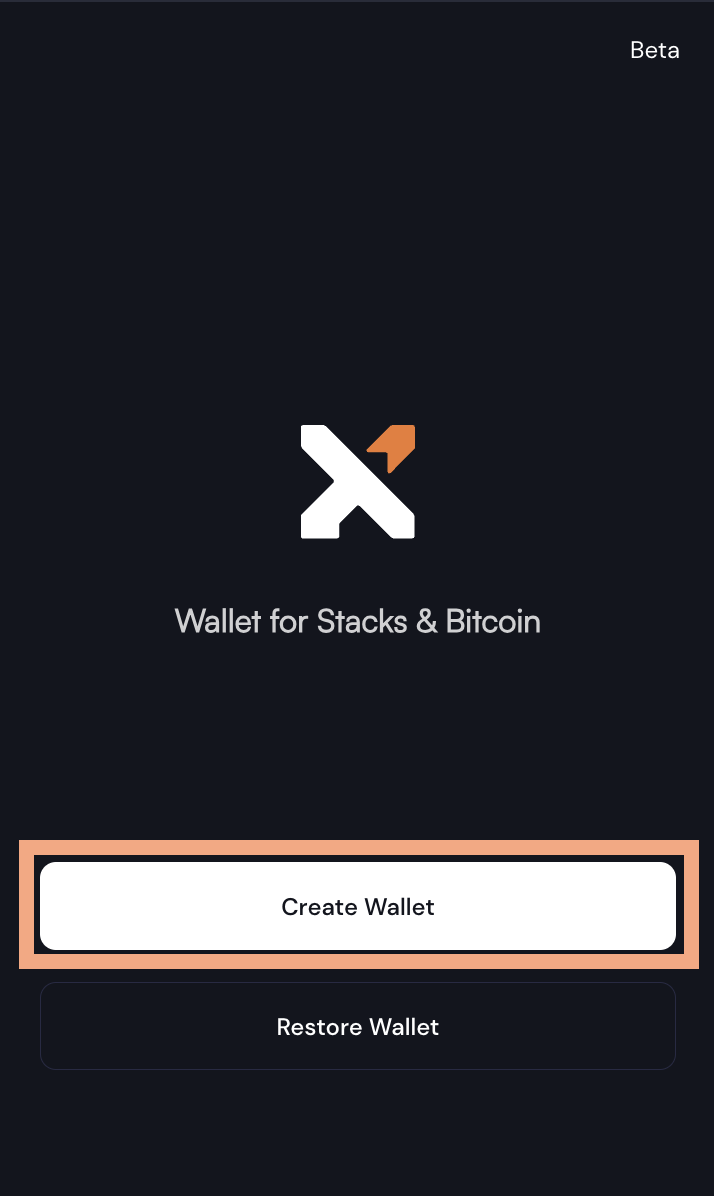
今回新しくウォレットレットを作るので『Create Wallet』をクリックします
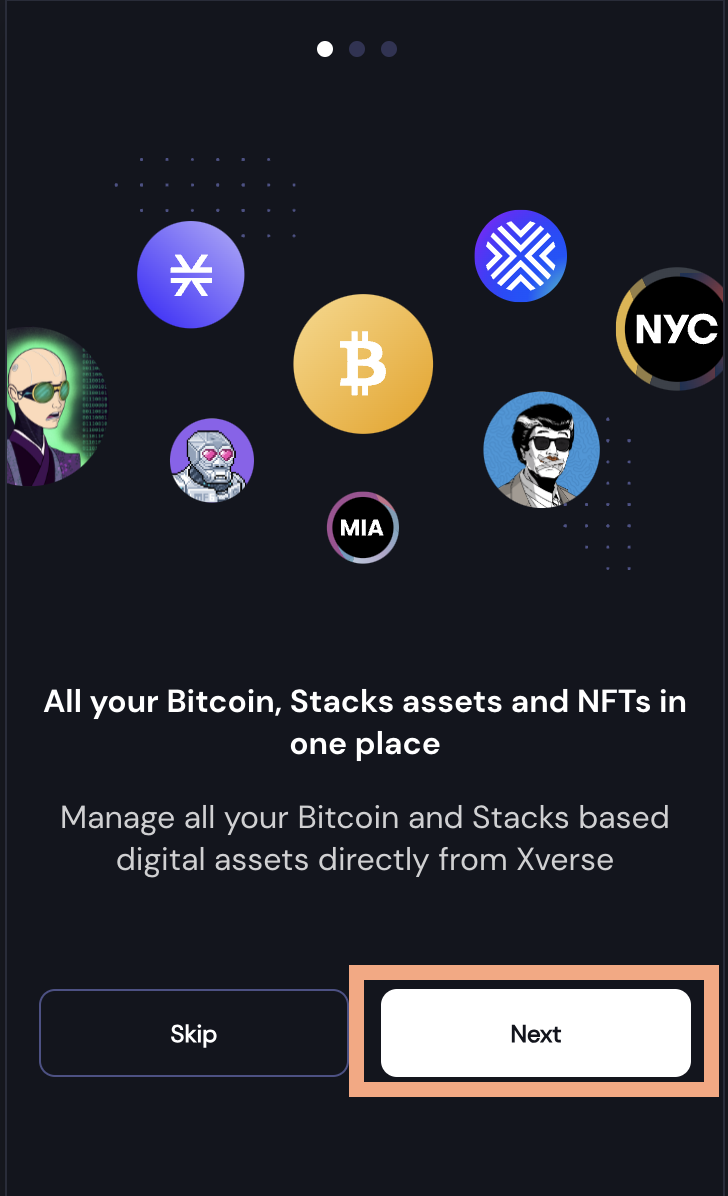
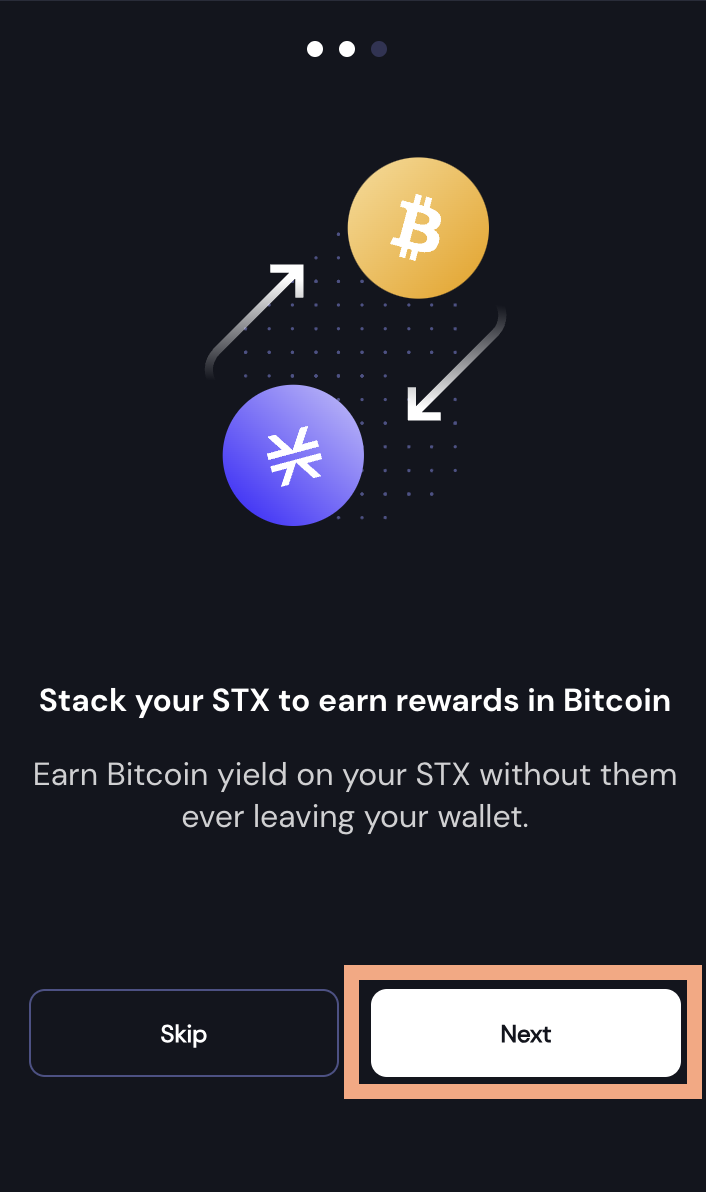
『Next』をクリックして進みます
つづけて『Next』をクリック
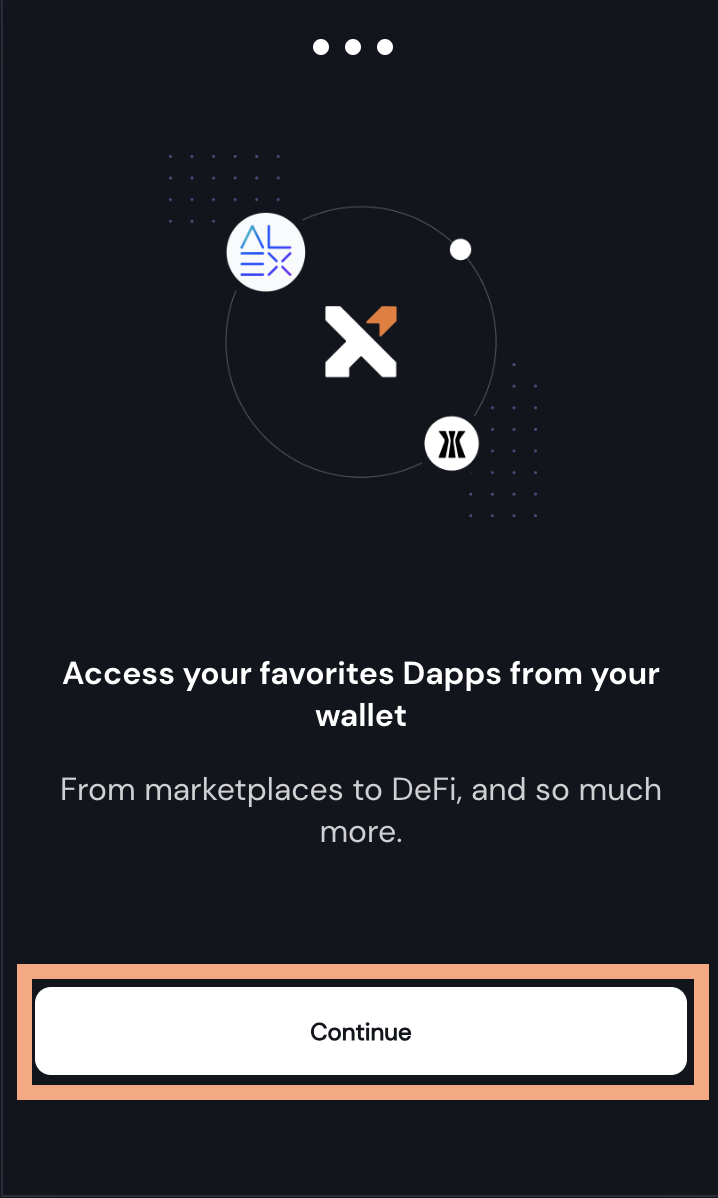
『Continue』をクリックします
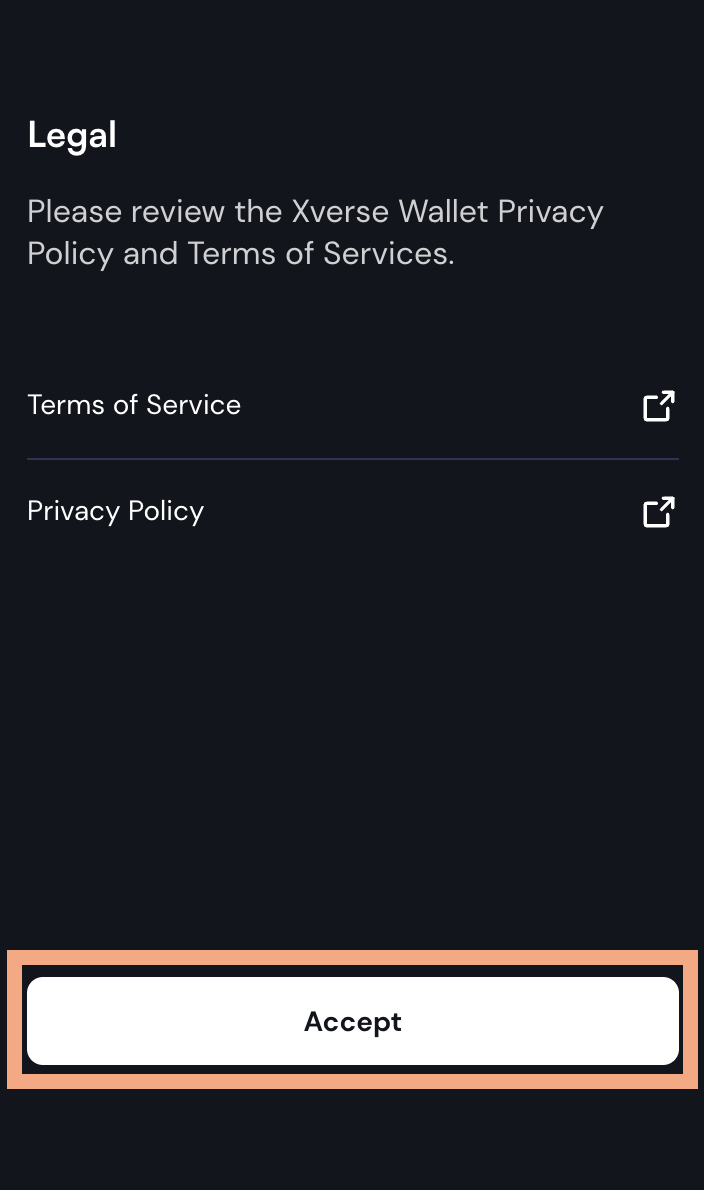
『Accept』をクリックします
このページは利用規約と、プライバシーポリシーを確認のページなのですが、特に開いて読まなくてもOKです
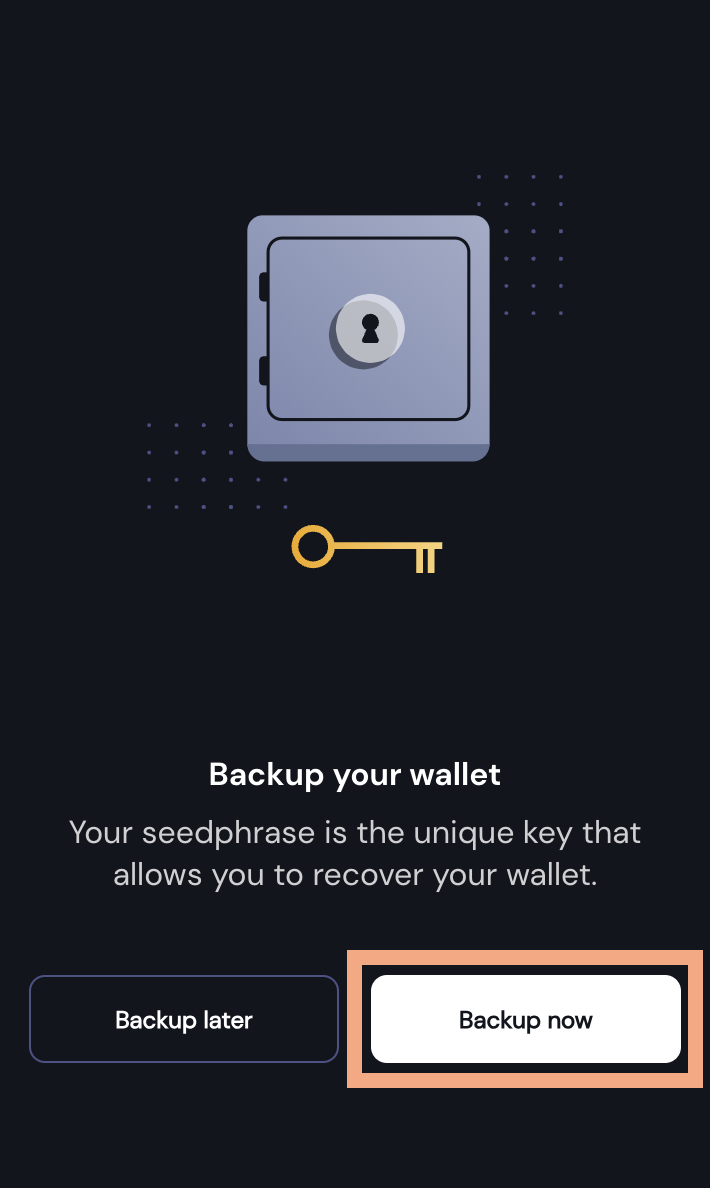
『Backup now』をクリックします
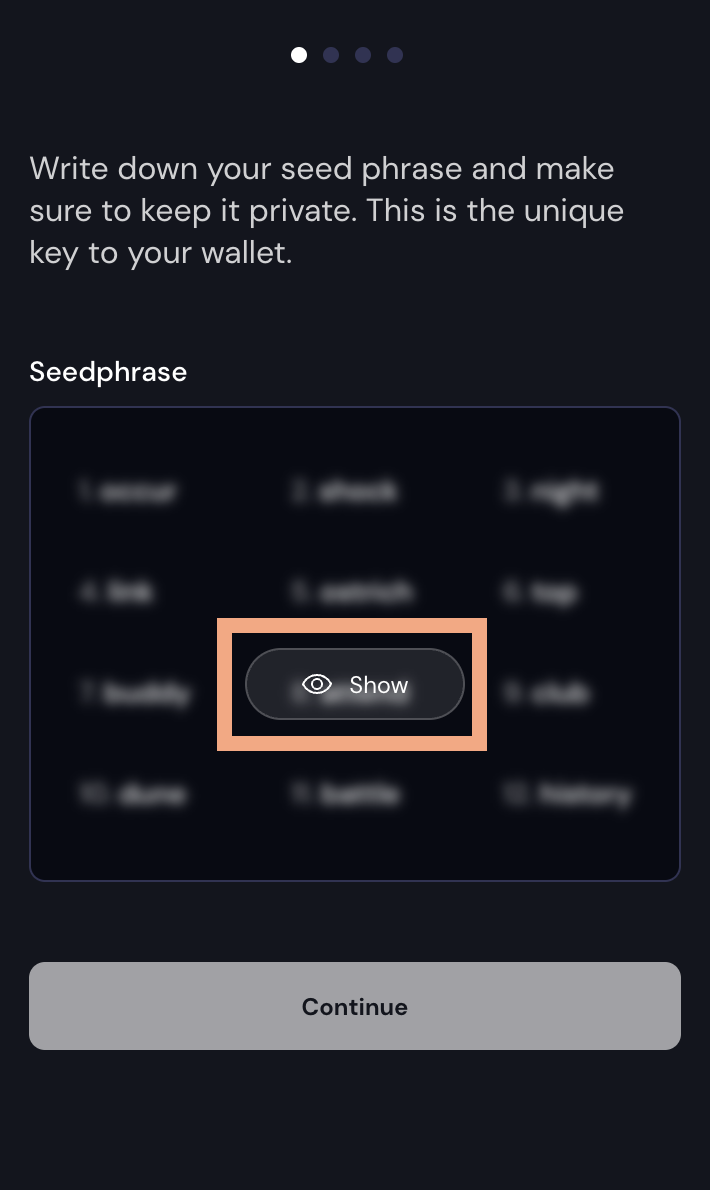
画面がぼやけているので『Show』をクリックして表示させます
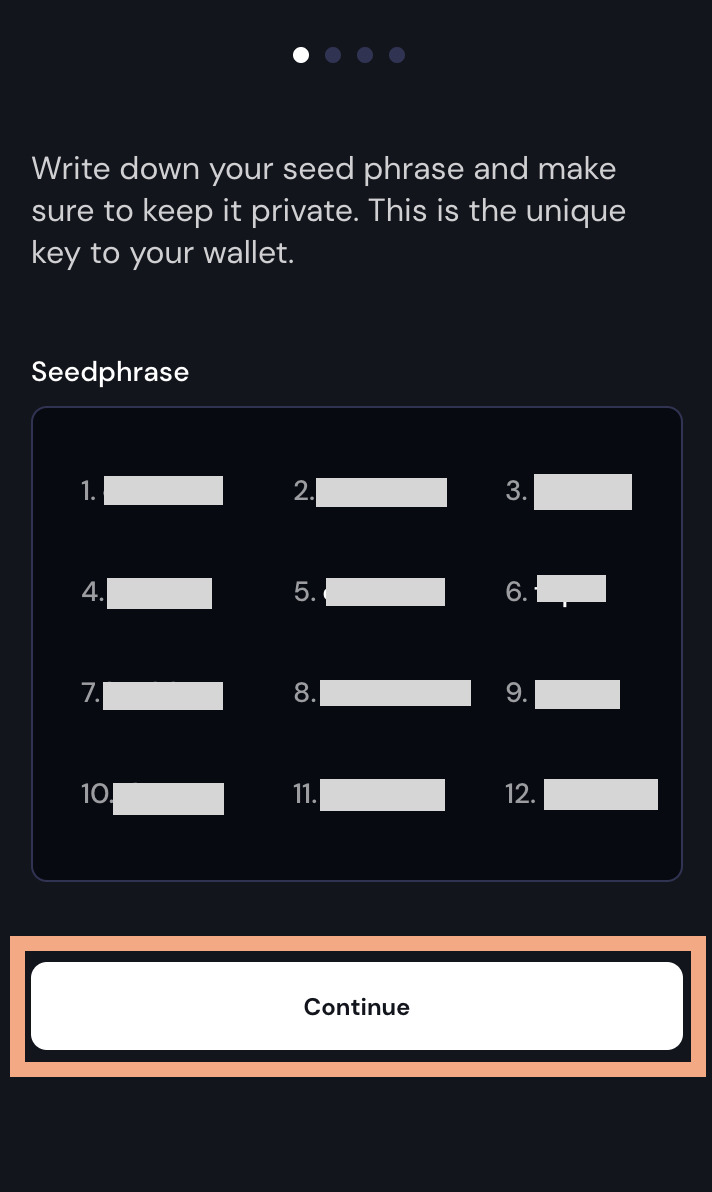
シードフレーズが表示されるので、メモ用紙に数字順に書き写して保管します
メモができたら『Continue』をクリックします
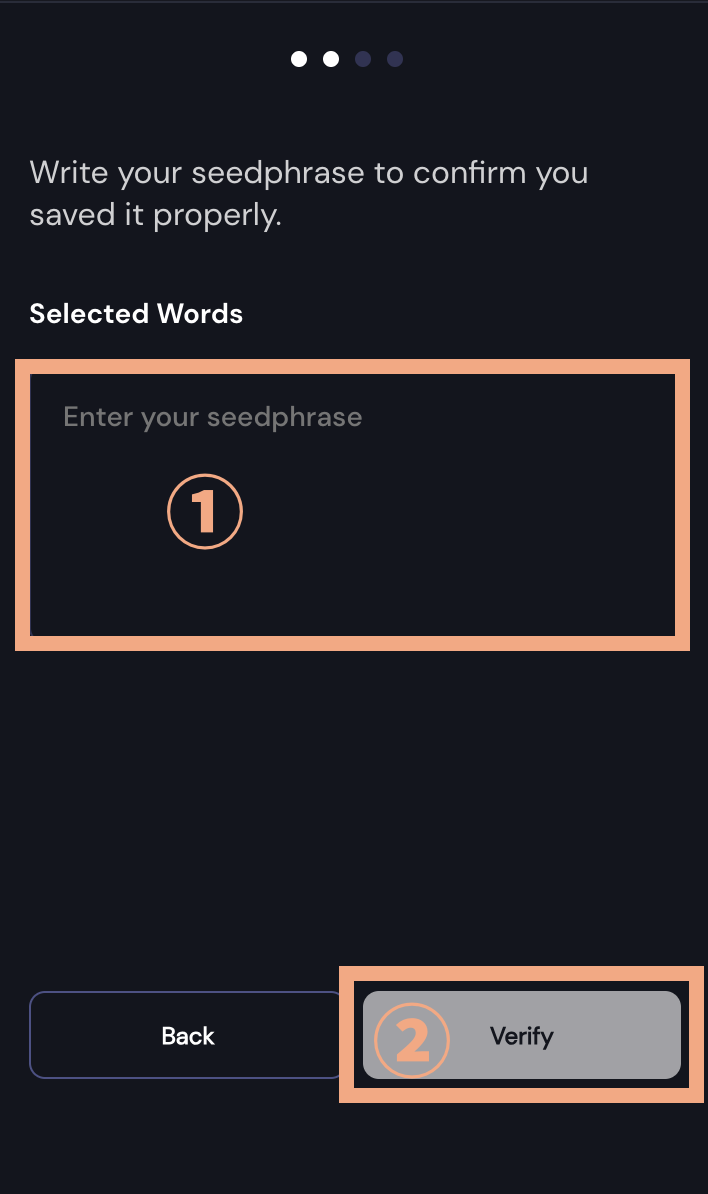
①の空らんにメモしたシードフレーズを順に入力していきます
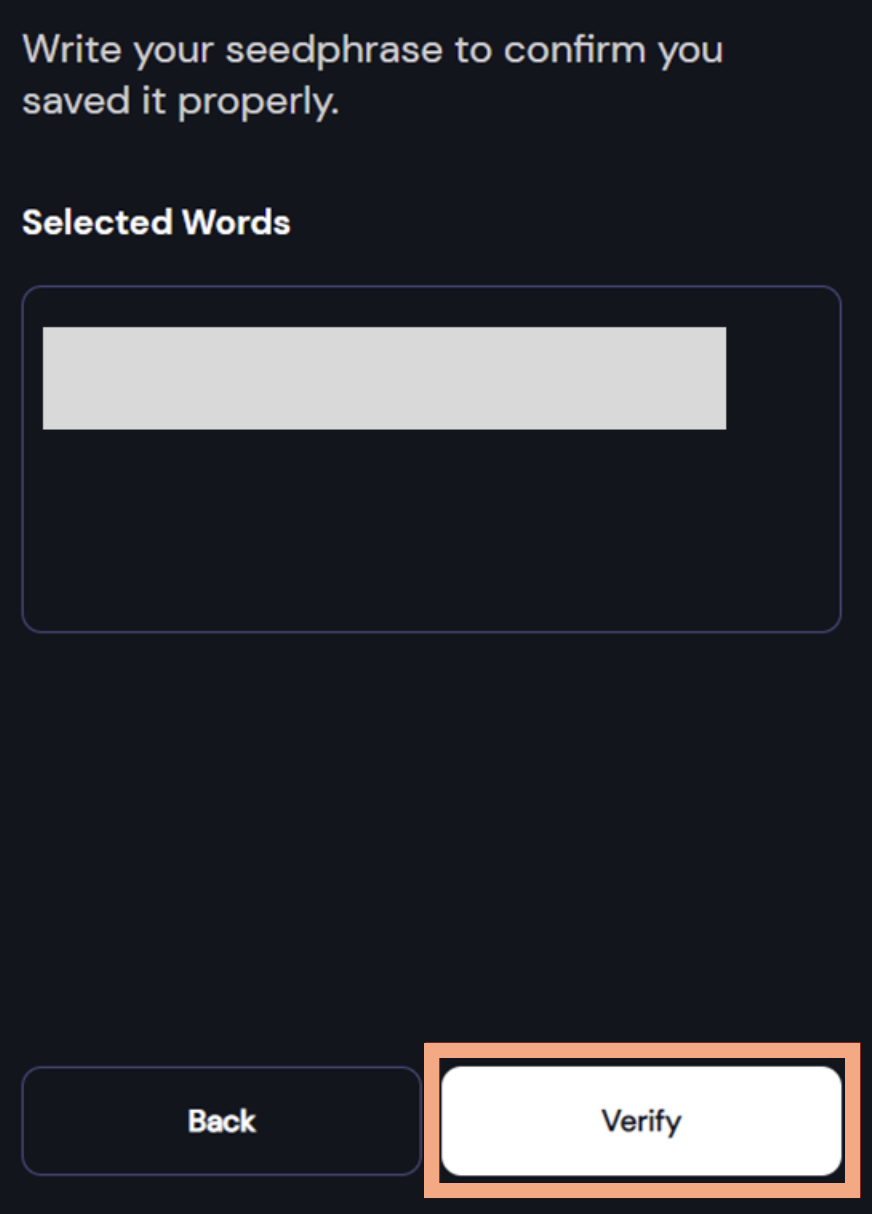
(単語と単語の間に半角スペースを入れながら横につづけて入力します)
②に12単語が入力ができたら『Verify』をクリックします
Xverse Walletのパスワードを設定します
ここからXverse Walletにパスワードを設定していきます
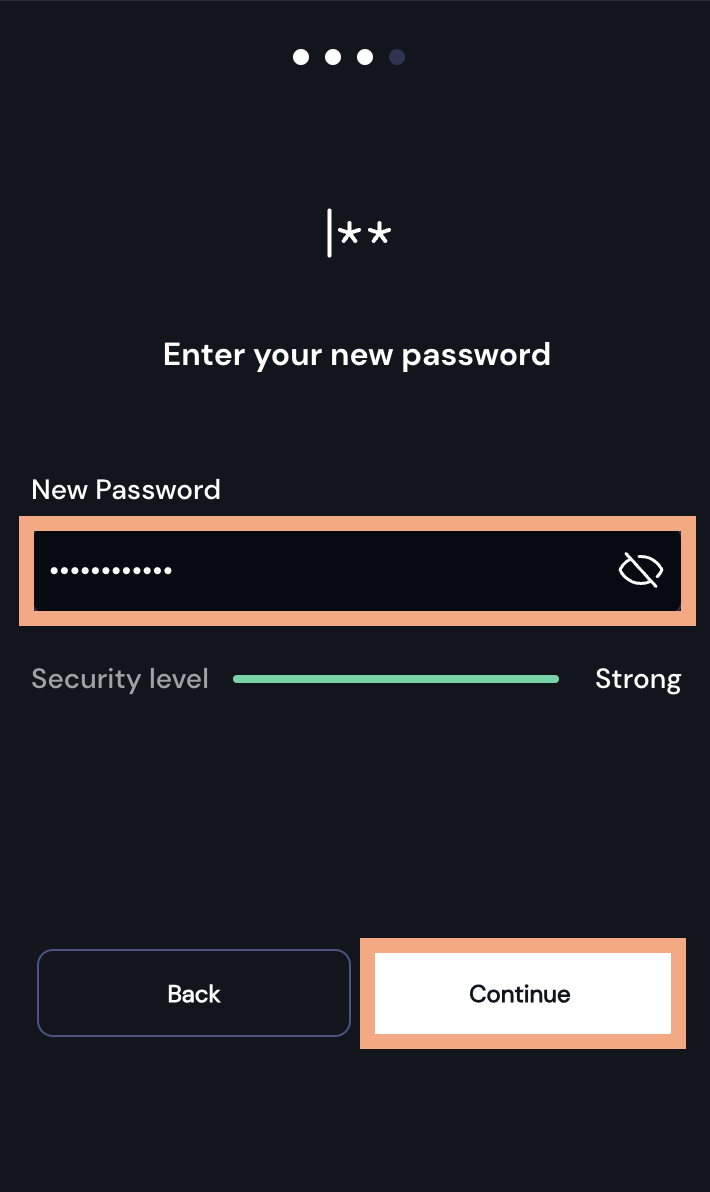
パスワードを決めて、空らんに入力して『Continiue』をクリックします
*メモするか忘れないパスワードにしましょう
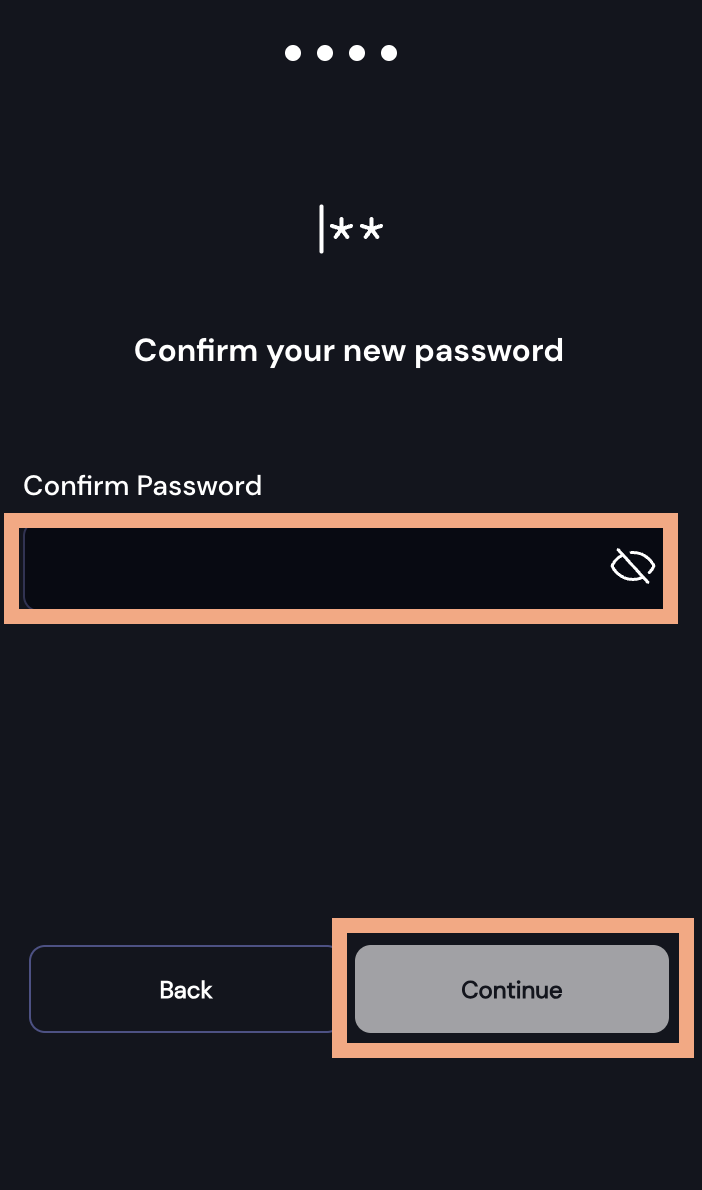
確認のため再度パスワードを空らんに入力し『Continue』をクリックします
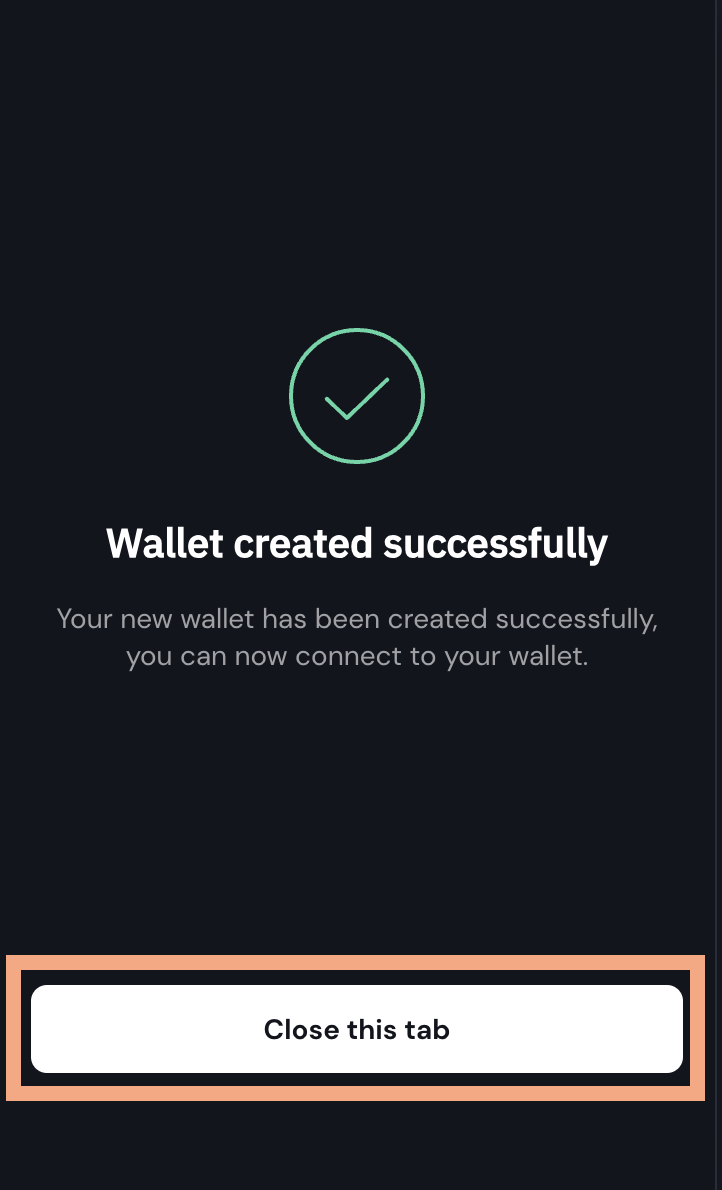
『Close this tab』をクリックします
これでウォレットの設定は完了です。
ウォレットができたら最初にやっておくこと
ウォレットの作成ができたところで、簡単な設定をササっと済ませておきます。
Chrome拡張機能のピースをクリックしてXverse Walletを選択します
かやねーXverse Wallte名前のよこ📌をクリックすると
Chromeにピン留めできます
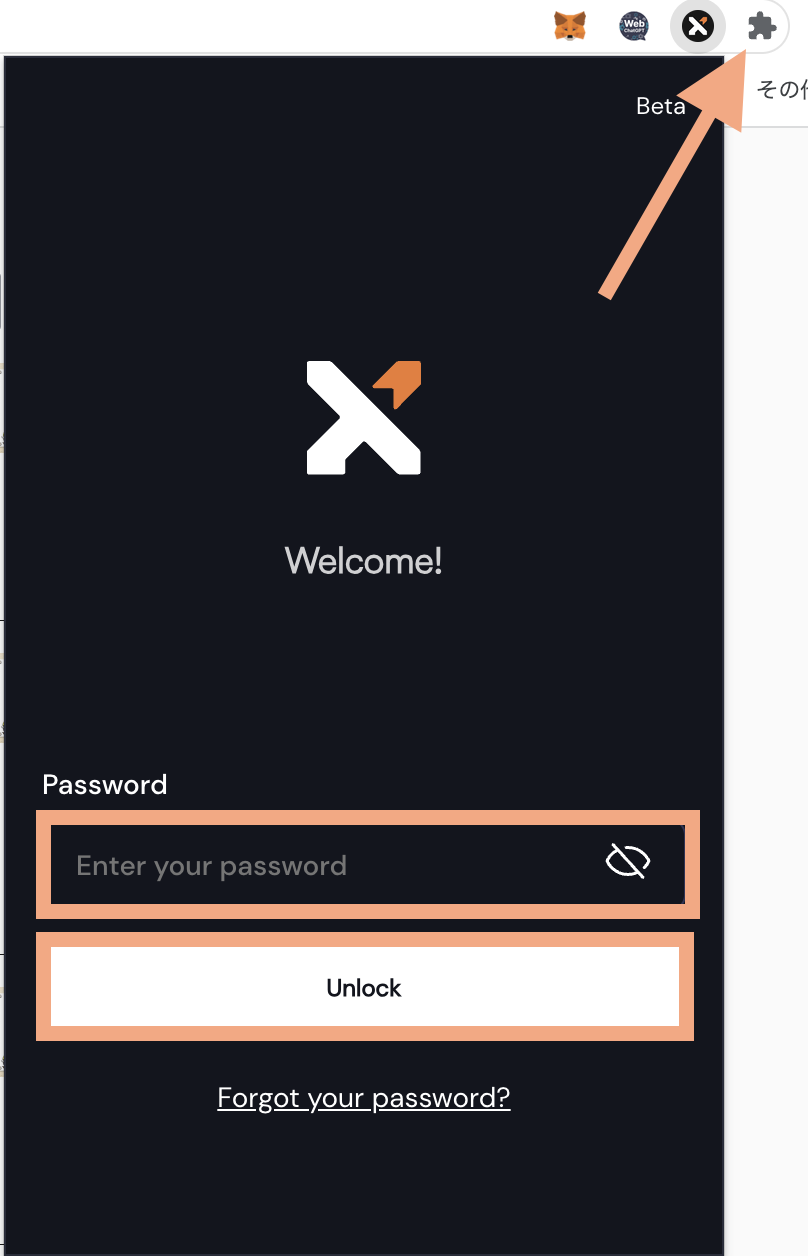
先ほど決めたパスワードを入力して『Unlock』をクリックします
これでウォレットレットが開きました。
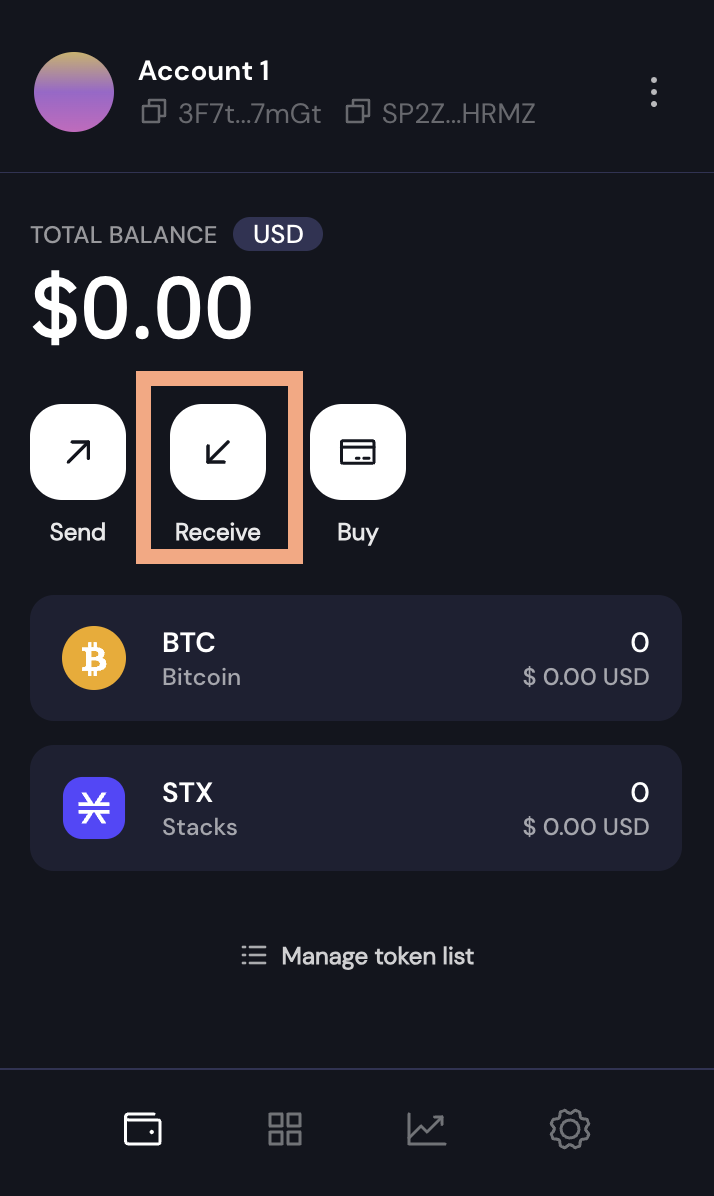
『Receive』をクリックして自分のアドレスを表示させます
*アドレスには以下の3種類があります
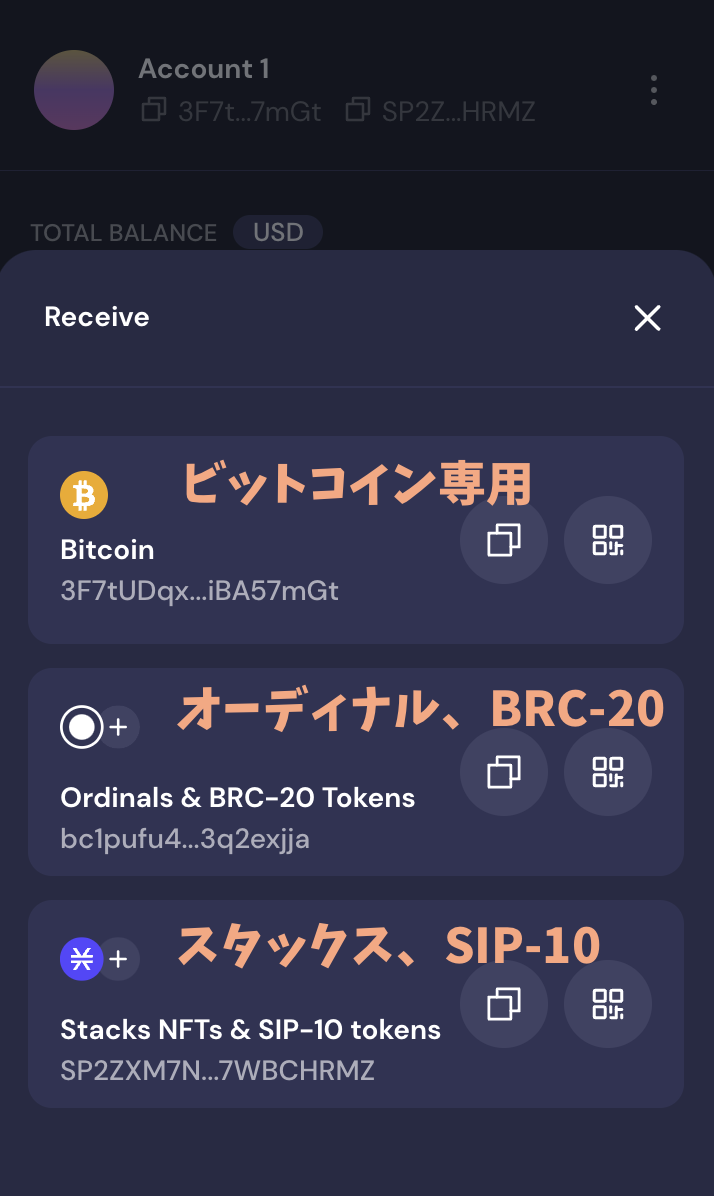
3つのウォレットアドレス
上⚫︎ビットコイン専用
中⚫︎オーディナル、BRC-20ト-クン専用
下⚫︎スタックスNFT、SIP-10ト-クン専用
まずビットコインから設定していきます
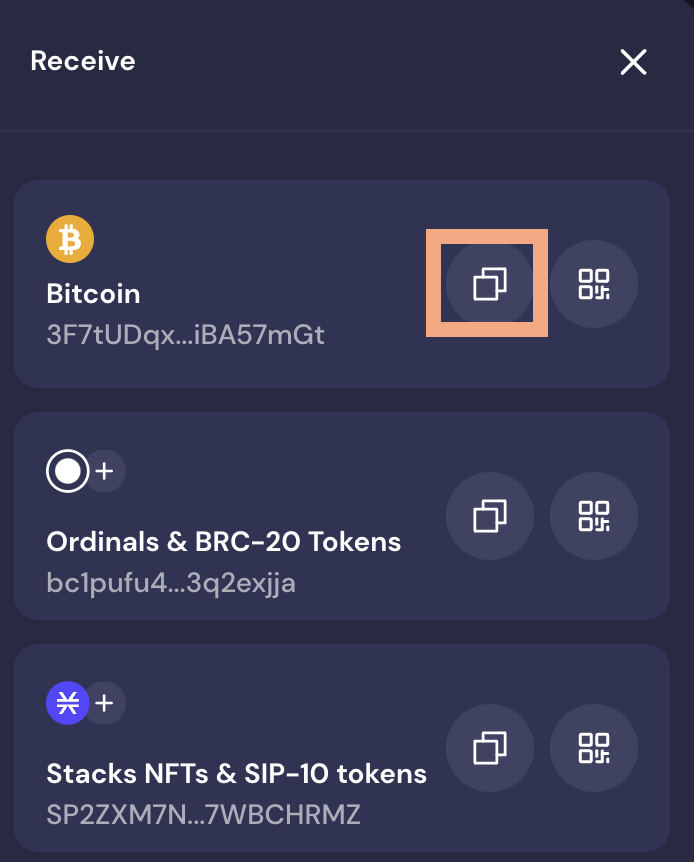
ビットコインのアドレスコピーマークをクリックします
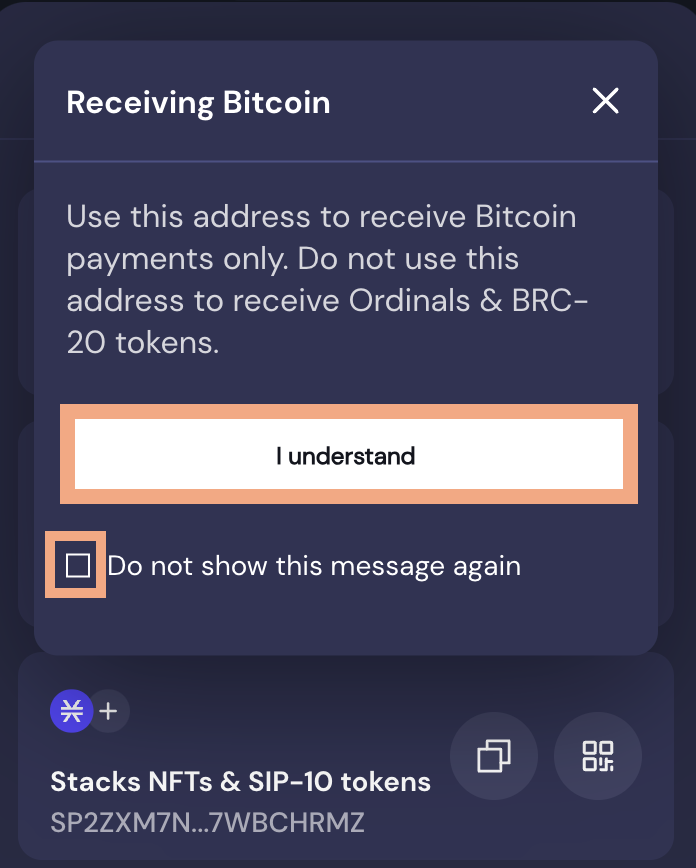
上記の画像が表示されたらチェックらんにチェックを入れ『I understand』をクリックします
つづけてオーディナル、スタックスNFTをそれぞれ選択して、チェックを入れ『I understand』をクリックして設定します。
かやねーこの設定をすると次回からはワンクリックでアドレスのコピーができます
この設定をしとかないと、アドレスコピーする度にこの画面が表示されることになります。
3つともアドレスの設定ができたら確認をしてみましょう
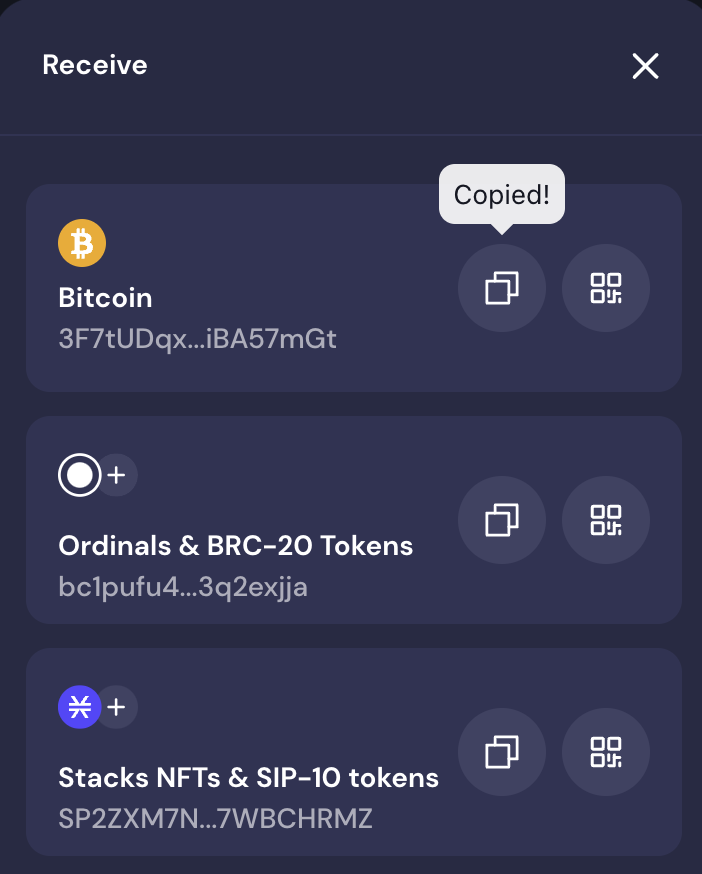
アドレスコピーのマークをクリックするとコピーできています。
 なやみん
なやみんワンクリックでコピーできてるね
ビットコインNFT(Ordinals)の波に備えよう

イーサリアムNFTを触ったことがある人は、それなりに理解しつつ進めたかと思います。
仮想通貨をさわるのが初めてだった人はむつかしくて大変だったと思います。
おつかれさまでした。。。
今後ビットコインNFTの波が来ると予想されています。
仮想通貨やNFTはうまく波に乗ることができれば爆益もねらえます。
ビットコインNFT(Ordinals:オーディナル)の波に乗れるように
トラベルルールの法改正もあるので、仮想通貨の送受金は時間の余裕を持って準備しておきましょう。
仮想通貨国内取引所が未開設の人は
おすすめはコインチェックです
仮想通貨あらかると


【初心者】コインチェックの口座開設の方法とETH(イーサリアム)またはBTC(ビットコイン)を購入する方法…
いま、コインチェックでお得なキャンペーン始まってるのでこの機会に口座開設しよう リンクから口座開設をすると2500円分もらえます。 コインチェックの口座開設 すぐに口…
口座開設はかんたんに開設できます。
*ビットコインNFTを購入するには、記事内のイーサリアムをビットコインに変えて購入してください。
かやねーXverseウォレットが作れたら実際にOrdinalsを購入してみよう。
NFTの購入方法をまとめたので下記の記事を参考にしてください。
仮想通貨あらかると
ビットコインNFT(Ordinals)とは?マジックエデン(Magic Eden)での購入方法をわかりやすく説明します | 仮想…
こんにちはかやです。 最近話題のビットコインNFTってなんですか?購入方法も知りたいです 今回はこのような悩みに答えていきたいと思います。 すぐ購入方法に進みたい人は…
今回は以上です。