*コンテンツは広告を含む場合があります。
【Ledger Nano S Plus 】ハードウェアウォレットの初期設定設のやり方
レジャーナノの初期設定方法を知りたい・・・
 かやねー
かやねーこんな悩みを解決する記事を書きました
ネットと切り離して保管できるので
詐欺被害を防ぐ神アイテムです
仮想通貨界隈は詐欺師が
いっぱい…
お金が集まるところには
詐欺師も集まってくるよ
自己防衛が大事になので
大事な資産は自分で守ろう!!
今回はハードウエアォオレットの定番
Ledger Nano S Plusで解説していきます
本記事を読むとレジャーナノの初期設定を完了できますよ。
Ledger Nano Xも使い方や設定はほぼ同じです。
目次
Ledger Nano S Plusを開封して確認しよう

私が買ったのは
Ledger Nano S Plusです
Ledger Nano S PlusはNFTの保管用に購入しました
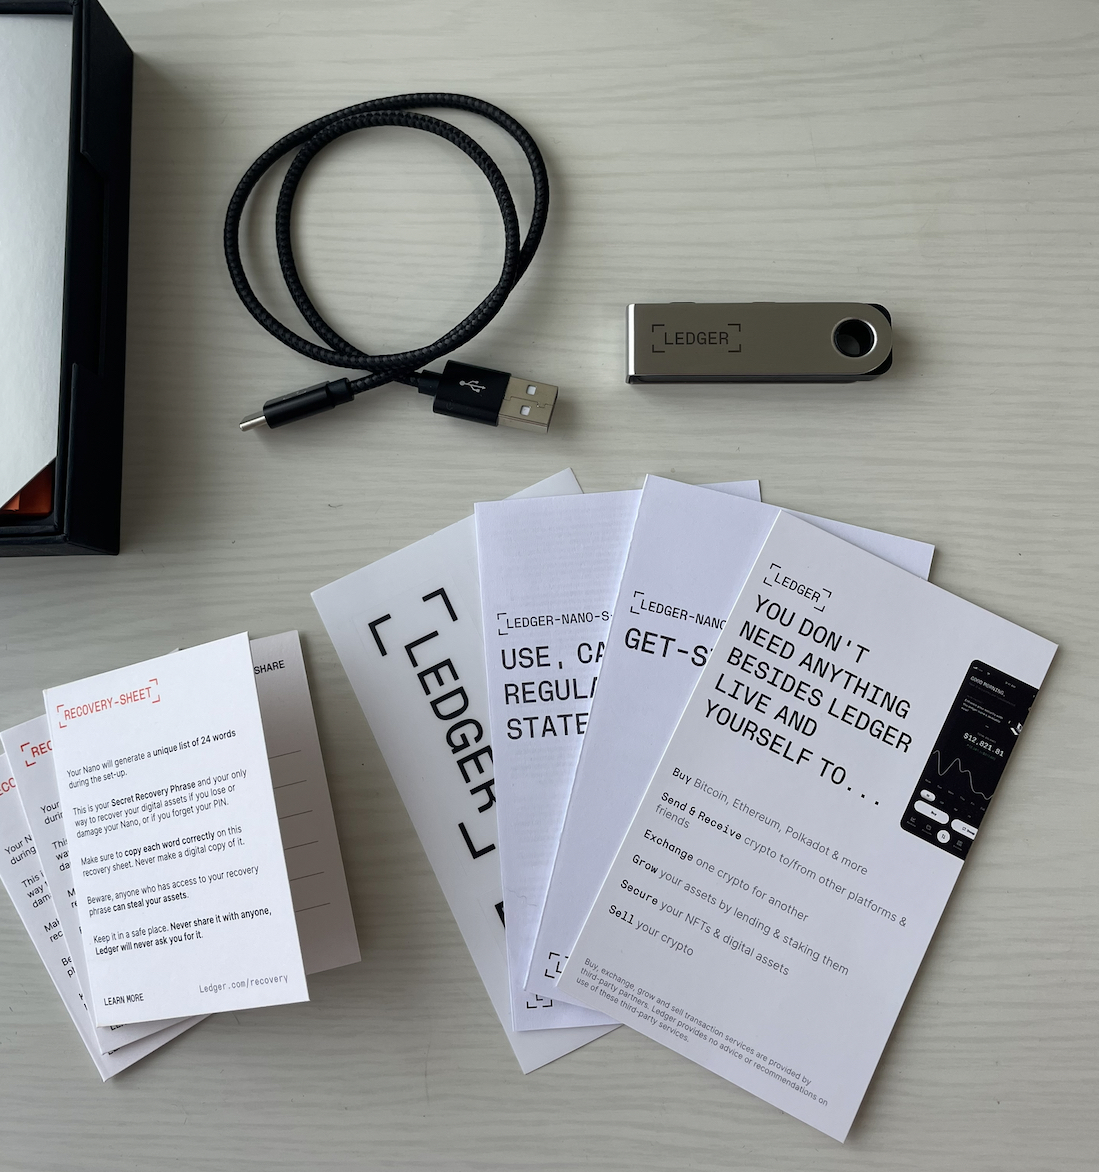
- Ledger Nano本体
- USBケーブル
- リカバリーフレーズ保存紙3枚
- 取り扱い説明書
- ステッカーが
入っていました
操作方法は意外とカンタン
初期設定の前のカンタンな操作方法
左ボタン:(左に)すすむ
右ボタン:(右に)もどる
2つボタン同時押し:決定
Ledger Nano S Plusの基本的な日常の操作方法は資産を移動するときのみPCに繋いでパスコードを入力するだけです
(ボタンが2つしかないので操作はカンタンです)
Ledger Nano S Plus (X)とは
仮想通貨やNFT自体はネット上に公開されたままですが、Ledger Nano S Plus (X)を使用するとネットから遮断された状態での保管になります
Ledger Nano S Plus (X)は鍵のようなのもです
S PlusとXのちがい
フランス(本社) Ledger [レジャー]社の製品ひかく
同時100コインインストール可(2つ共通)
スマホ使用かどうかで決めるといいです
Ledger Nano S Plus
(容量並、PC用、USB)
スマホで使わないならこれでOK
Ledger Nano X
(容量多、スマホOK、USB、Bluetooth)
Ledger Nano公式サイトから購入しましょう
絶対にAmazonやメルカリなどで購入してはいけません(一瞬で資産を抜かれる危険性があります)
【Ledger Nano S Plus】 初期設定(約30分)
初期設定に必要なものは同封されてます
- 本体
- USBケーブル
- リカバリーフレーズメモ
実際に初期設定を始めます
Nano(以降:本体)の設定は3ステップです
1.本体をPCにつなぐ
2.PINコードを設定する(再確認)
3.リカバリーフレーズをメモ(再確認)
(写真がうまく撮れてなくてログを再現)
本体英語表示
[かんたん和訳]
操作
矢印<,>で直感的に操作できます
ではさっそく
USBで本体につなぎます
Ledgerのロゴが出て
Ledgerと表示されない場合は設定を中止して問い合わせをしましょう
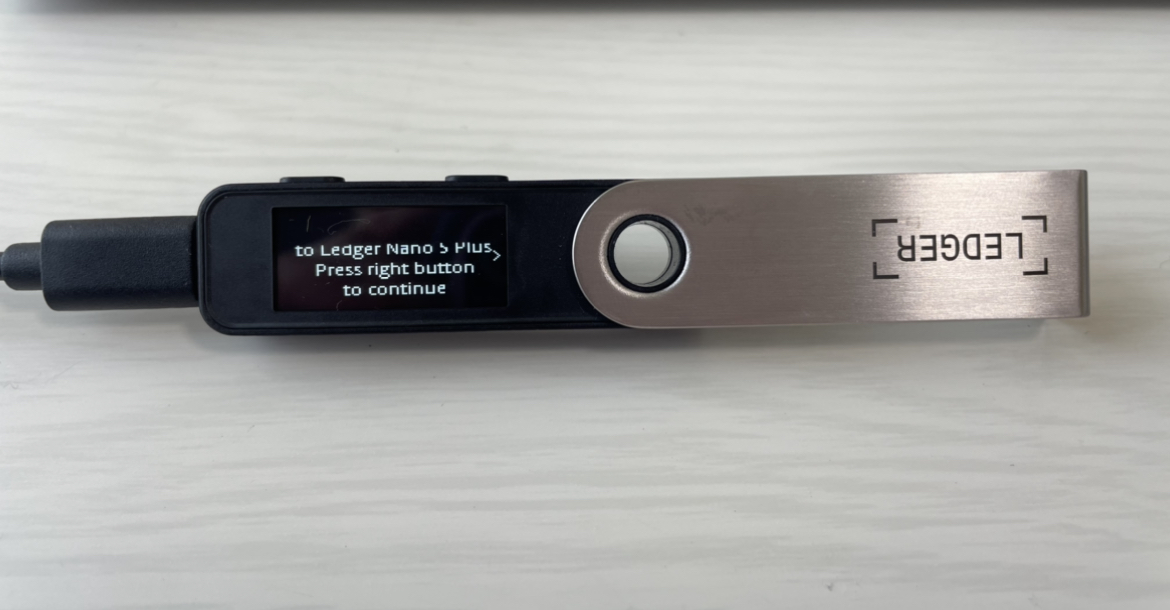
Welcome to Ledger…
[右のボタンではじめます]
右ボタンですすみます
Download
ledger Live at ledger.com/start…
[LiveのDLを勧めます](後でやるのでそのまま)
右ボタンですすみます
Use buttons to
navigate menus and lists
[ボタンでメニューやリストの操作をします]
右ボタンですすみます
Press both buttons to select
[同時押しで決定できます]
右ボタンですすみます
Hold both buttons……
[電源切、コントロールセンターを使う時は2つのボタンを同時に押します]
右ボタンですすみます
Start Ledger Live for…
[ライブ起動](とありますが本体で設定するので進みます)
右ボタンですすみます
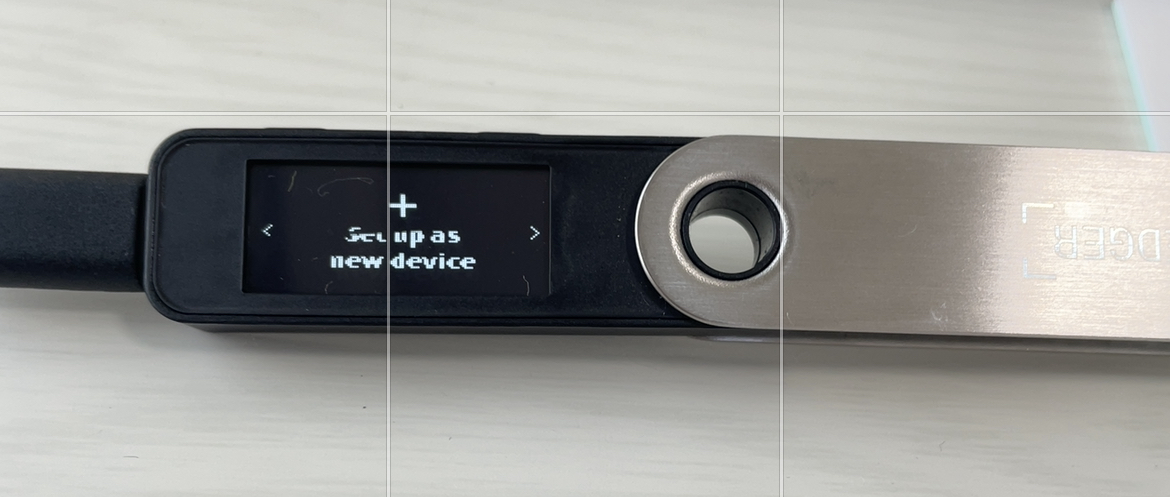
Set up as new device
[新しいデバイスとして登録]
2つのボタン同時押し
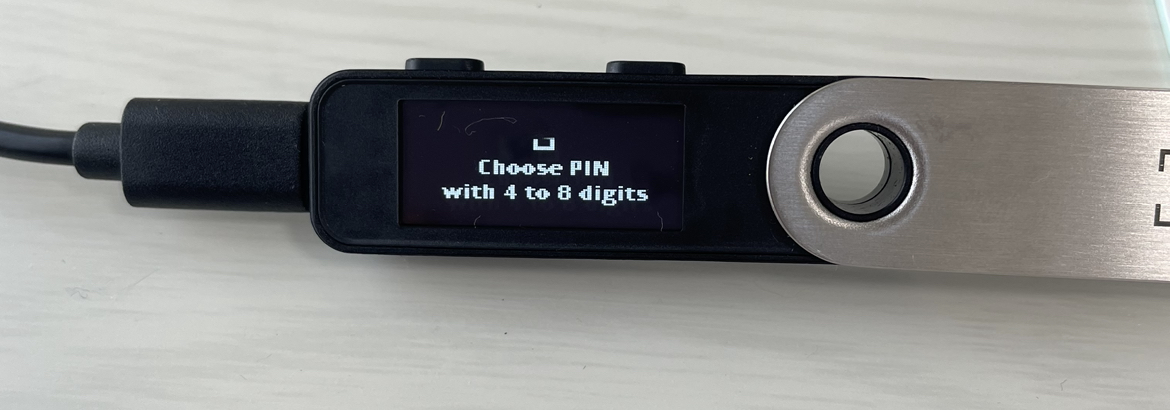
Choose PIN with 4 to 8 digits
[PINコード4~8桁で決めて☑️でエンター]
2つのボタン同時押し
Enter PIN
[再度ピンコードを入力]
2つのボタン同時押し
Confirm PIN
[ピンコードを確認します]

Write down your Recovery phrase
[リカバリフレーズを書き留めてください]
決定をしよう
your device will generte 24 words,…
[24単語あなたのリカバリーフレーズを生成します]
正確にメモに残します
右ボタンですすみます
It is your only back up restore your accounts if needed
[リカバリフレーズは復元時の唯一のバックアップです]
決定
Write it down on Your Recovery sheet,in the correct order
[リカバリーシートに正確に書き写してください]
決定
Write word #1
[1つ目の単語をシートにメモしてください]
右ボタンを押します
〜
Write word #24まで
1単語づつすすめましょう
設定中不安な時は左ボタンでいつでも戻れるからあせらず正確に進めよう
Confirm your Recovery phrase
[リカバリーフレーズを認証してください]
決定
Confirm word #1
[1つ目の単語を確認]
左右のボタンを使って
正しいものを選択して決定
間違ってもやり直せるので
大丈夫です
24単語全部終えると
Your Recovery phrase is set,
Keep it in a secure place
[リカバリフレーズがセットされました
厳重に保管してください]
右ボタン
If lost, stolen or forgotten,all your…
[失くしたら資産は全部無くなります]
右ボタン
Never sheare it with anyone,Ledgerwill…
[リカバリーは誰にも教えない、Ledgerも聞くことはない]
失くさず厳重に保管すること
決定
Press both buttons to continue
[左右のボタンを押して
すすみます]
決定
Your device is ready
[デバイスの準備ができました]
Go to the Dashboard
[ダッシュボードに行ってください]
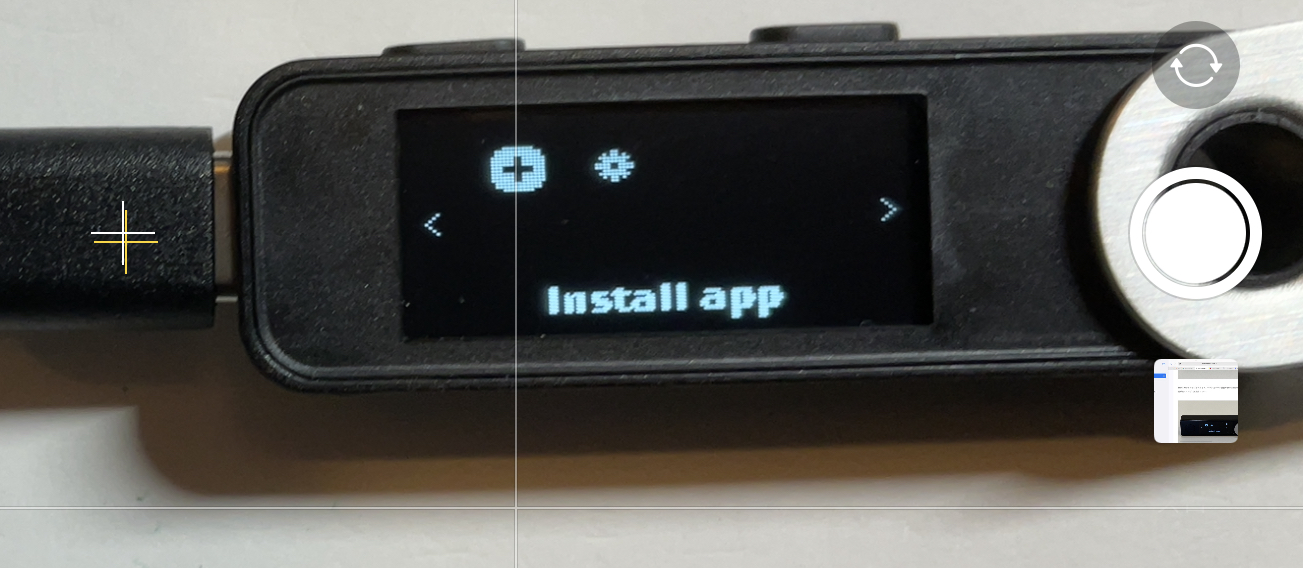
Install app
が表示されると本体での
設定は完了です
これでLedgerの本体の設定ができました
ハードウエアウォレットを専用ソフト(アプリ)と同期しよう
次にLedger Live(ソフトウエア)と接続します
はじめに
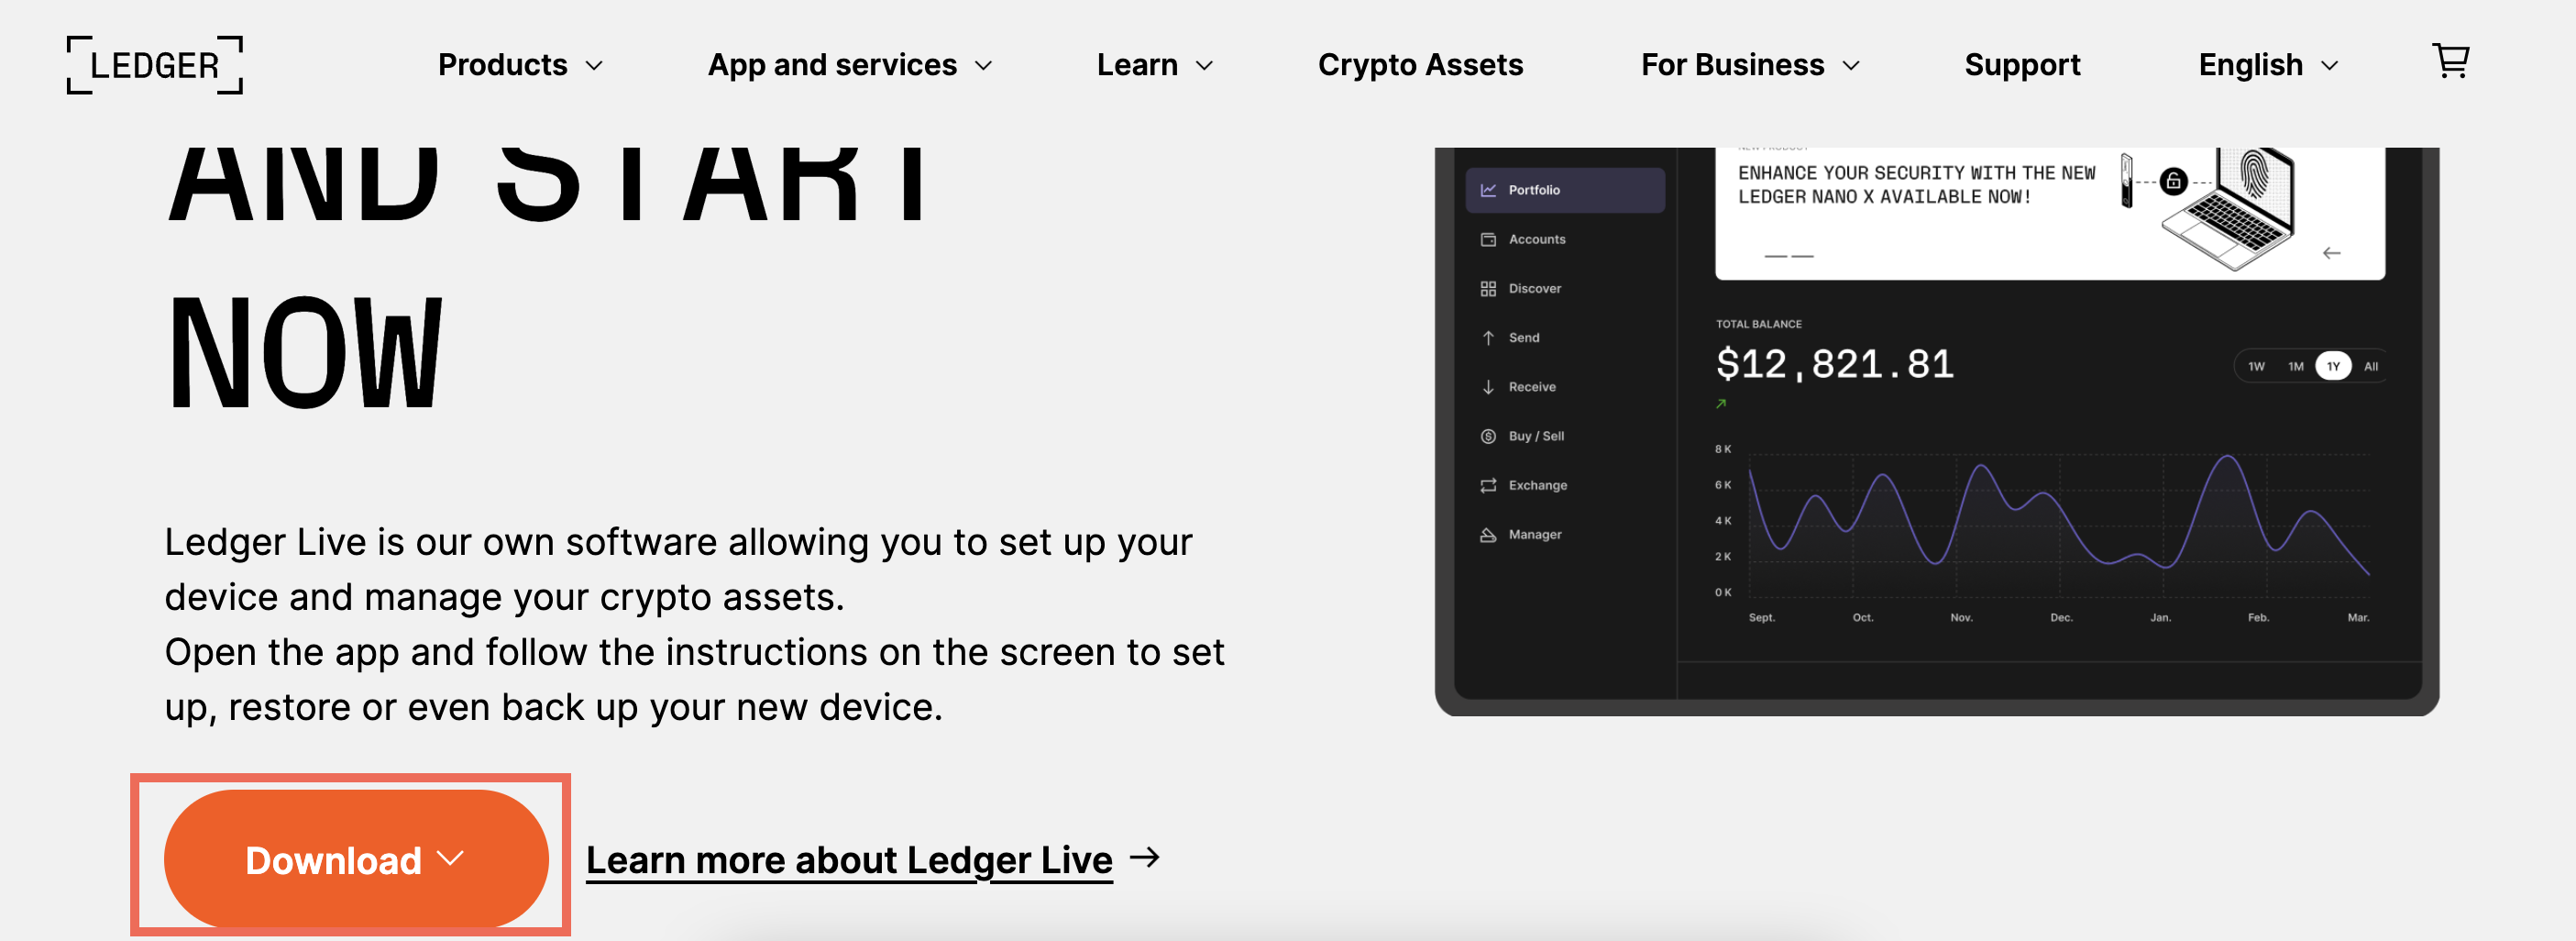
Ledger公式サイトに行きます
トップページの
Downloadをクリックしよう
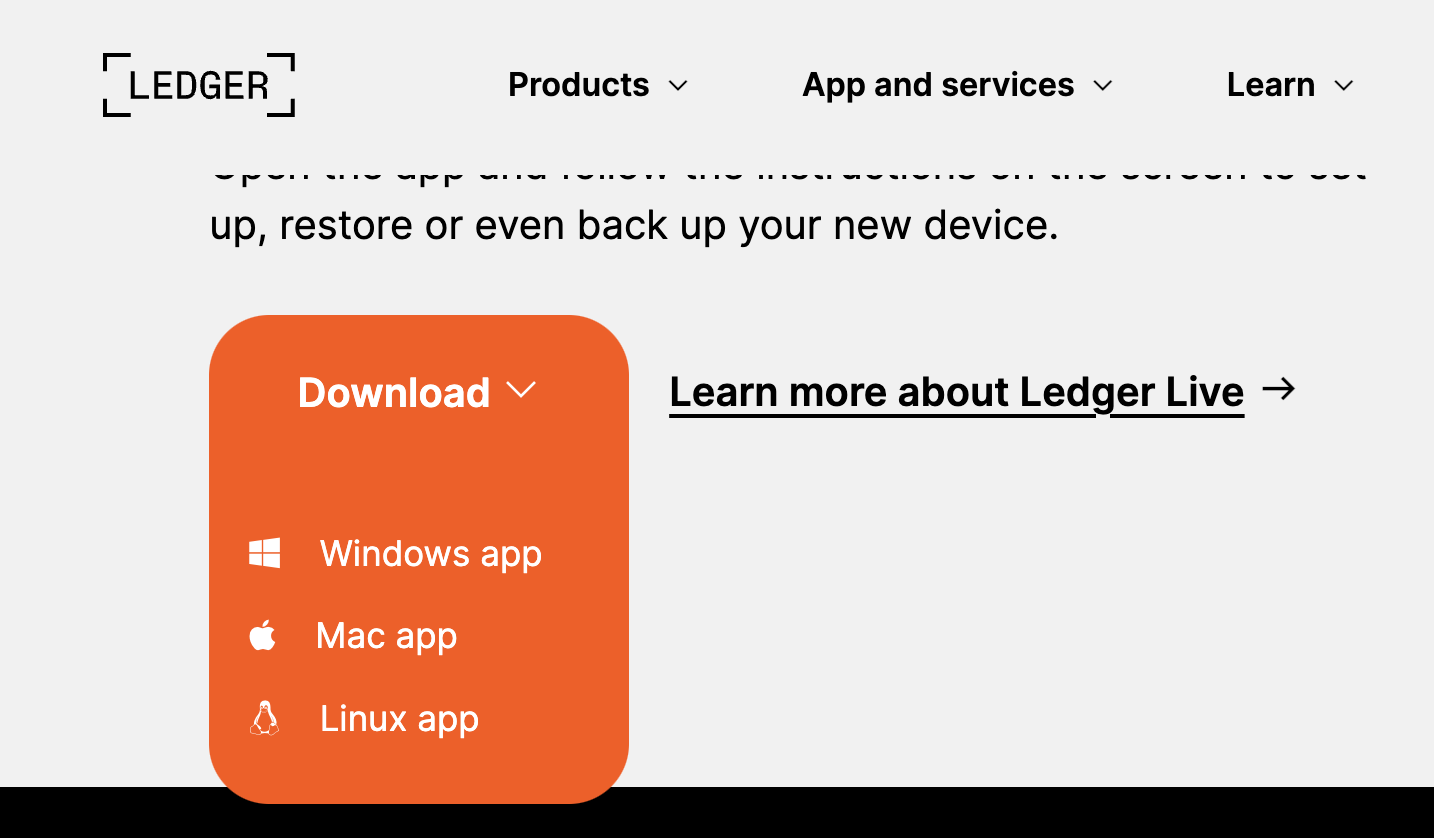
お使いのデバイスを選択して
DLします
私はMacなのでこんな感じ
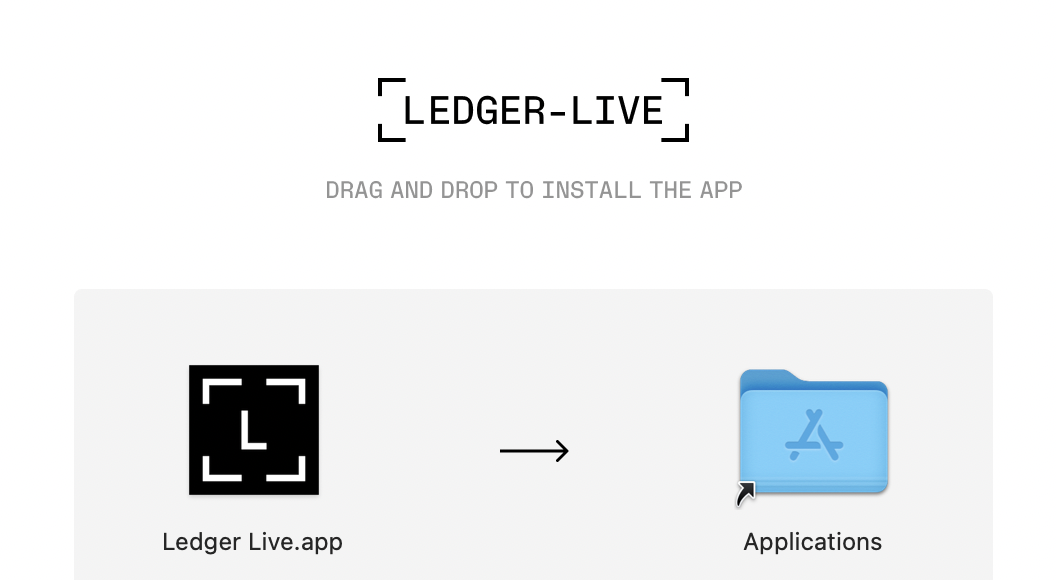
Lをアプリ内にスライドして
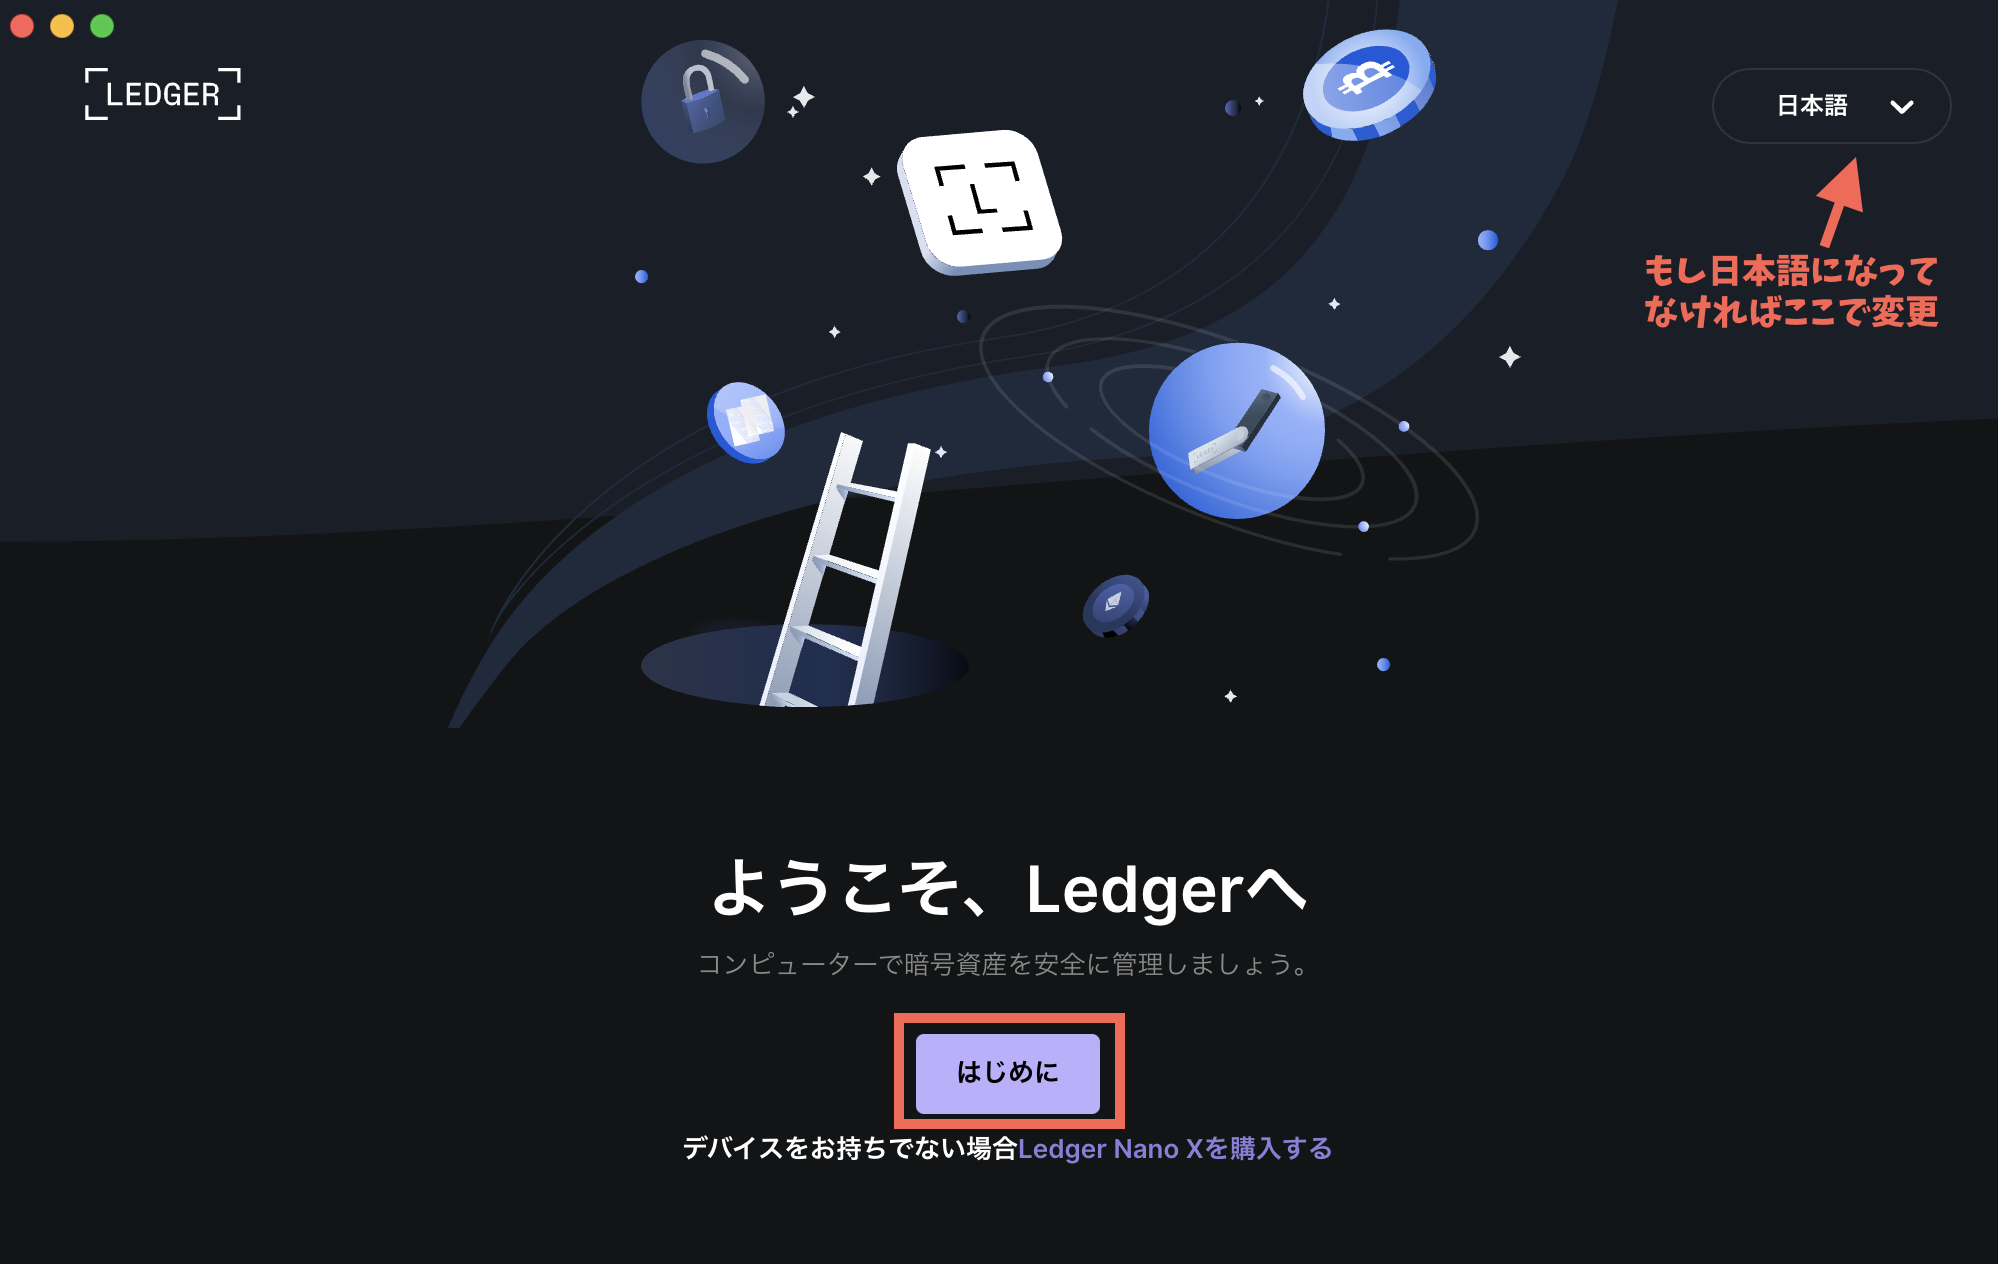
LEDGERを立ち上げます
はじめにをクリックして

利用規約に☑️をしよう

Ledgerアプリを開く
をクリックしよう

自分が購入した当てはまる
画像をクリックします

先ほど本体でリカバリーフレーズを設定したので下の
Nano S Plus(自分の型)接続
をクリックします

続行をクリックしよう

正規品かチェックします
Nanoをチェックする
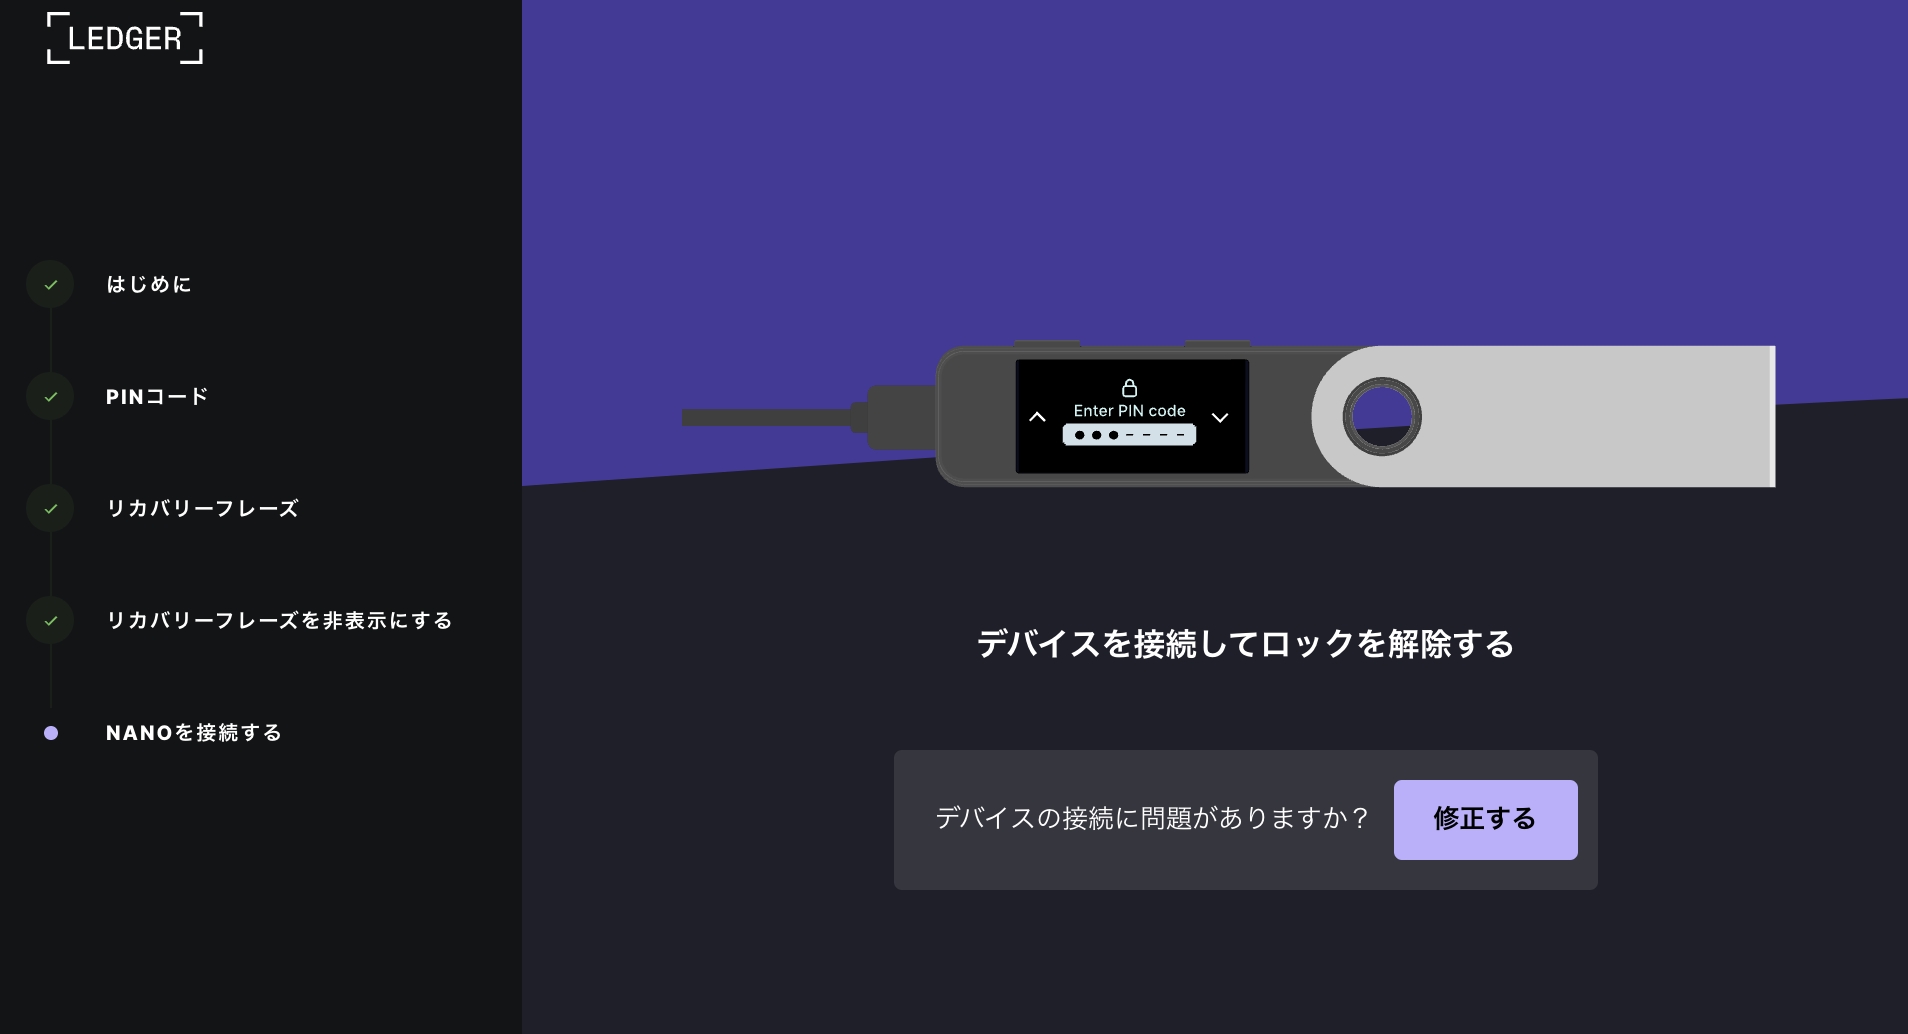
Nanoをパソコンに接続して本体にPINコードを入力して
ロックを外します
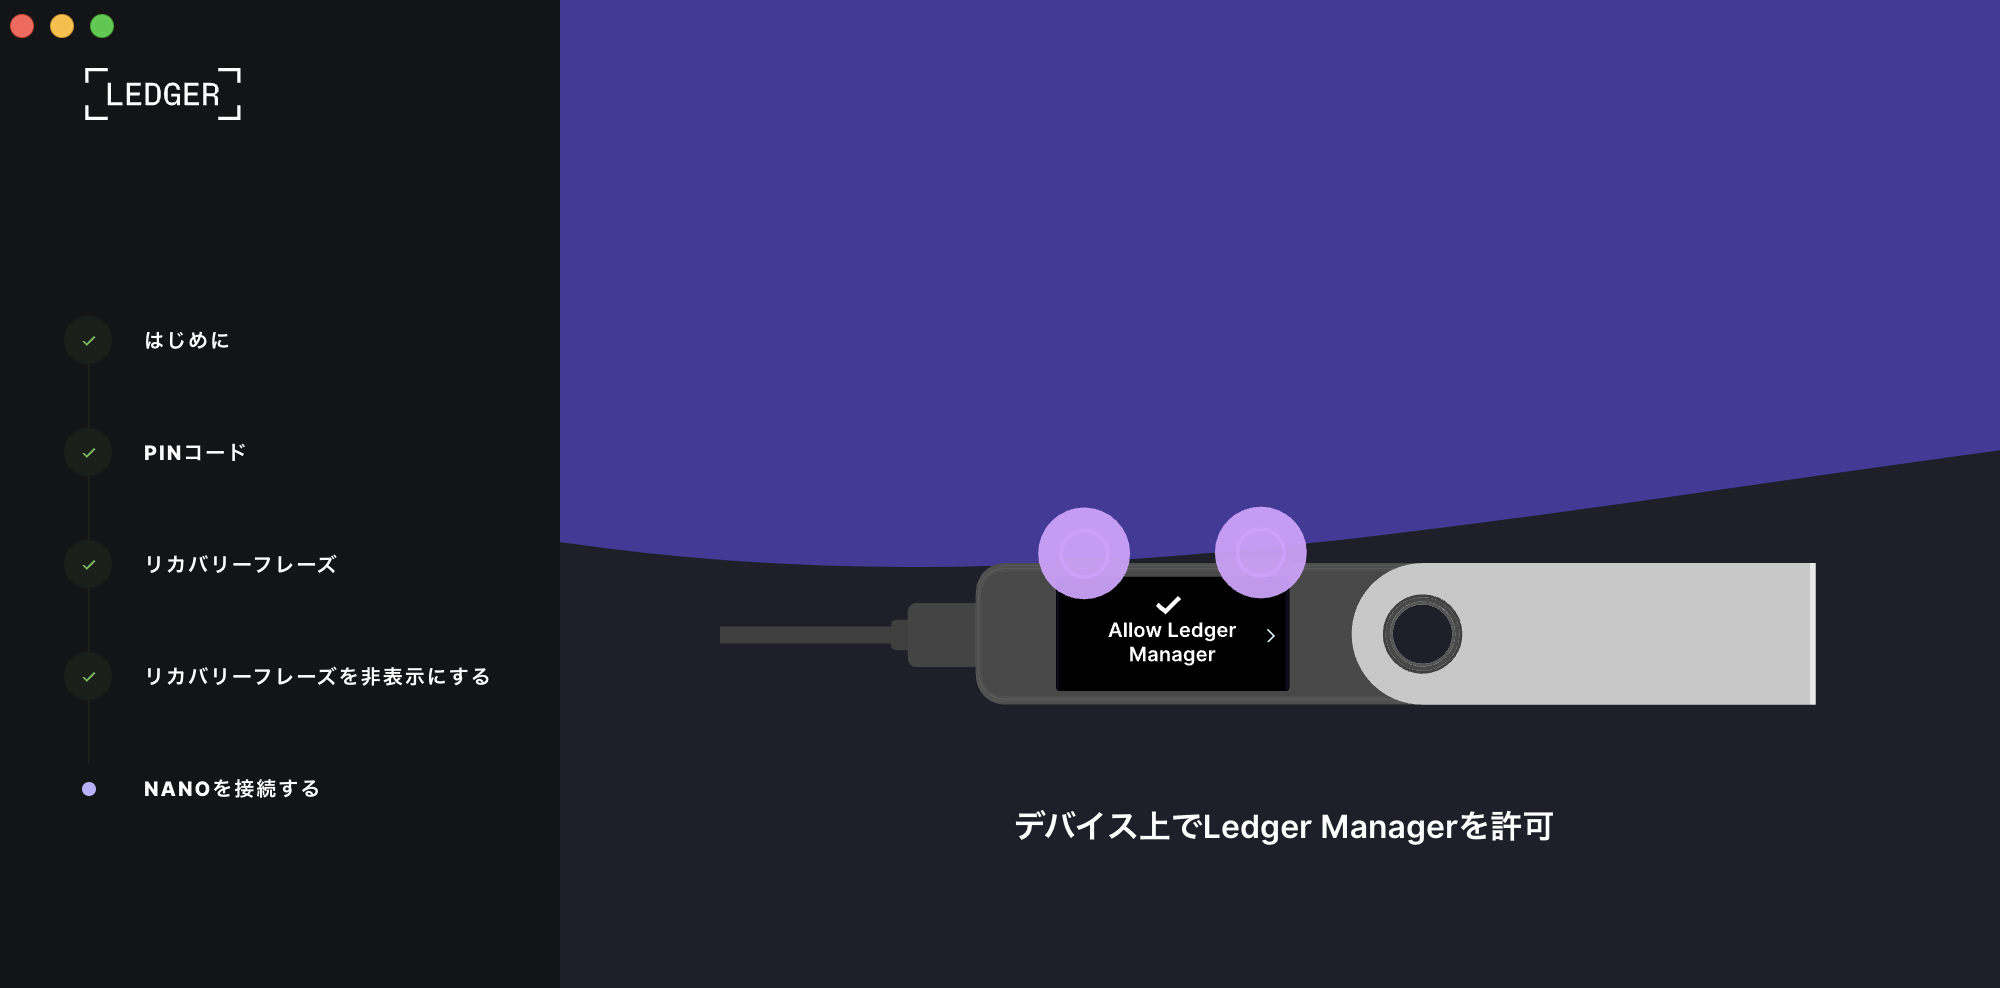
本体で許可をします

これであなたのLedgerが正規品かチェックができました(ひと安心ね)
続行をクリックします
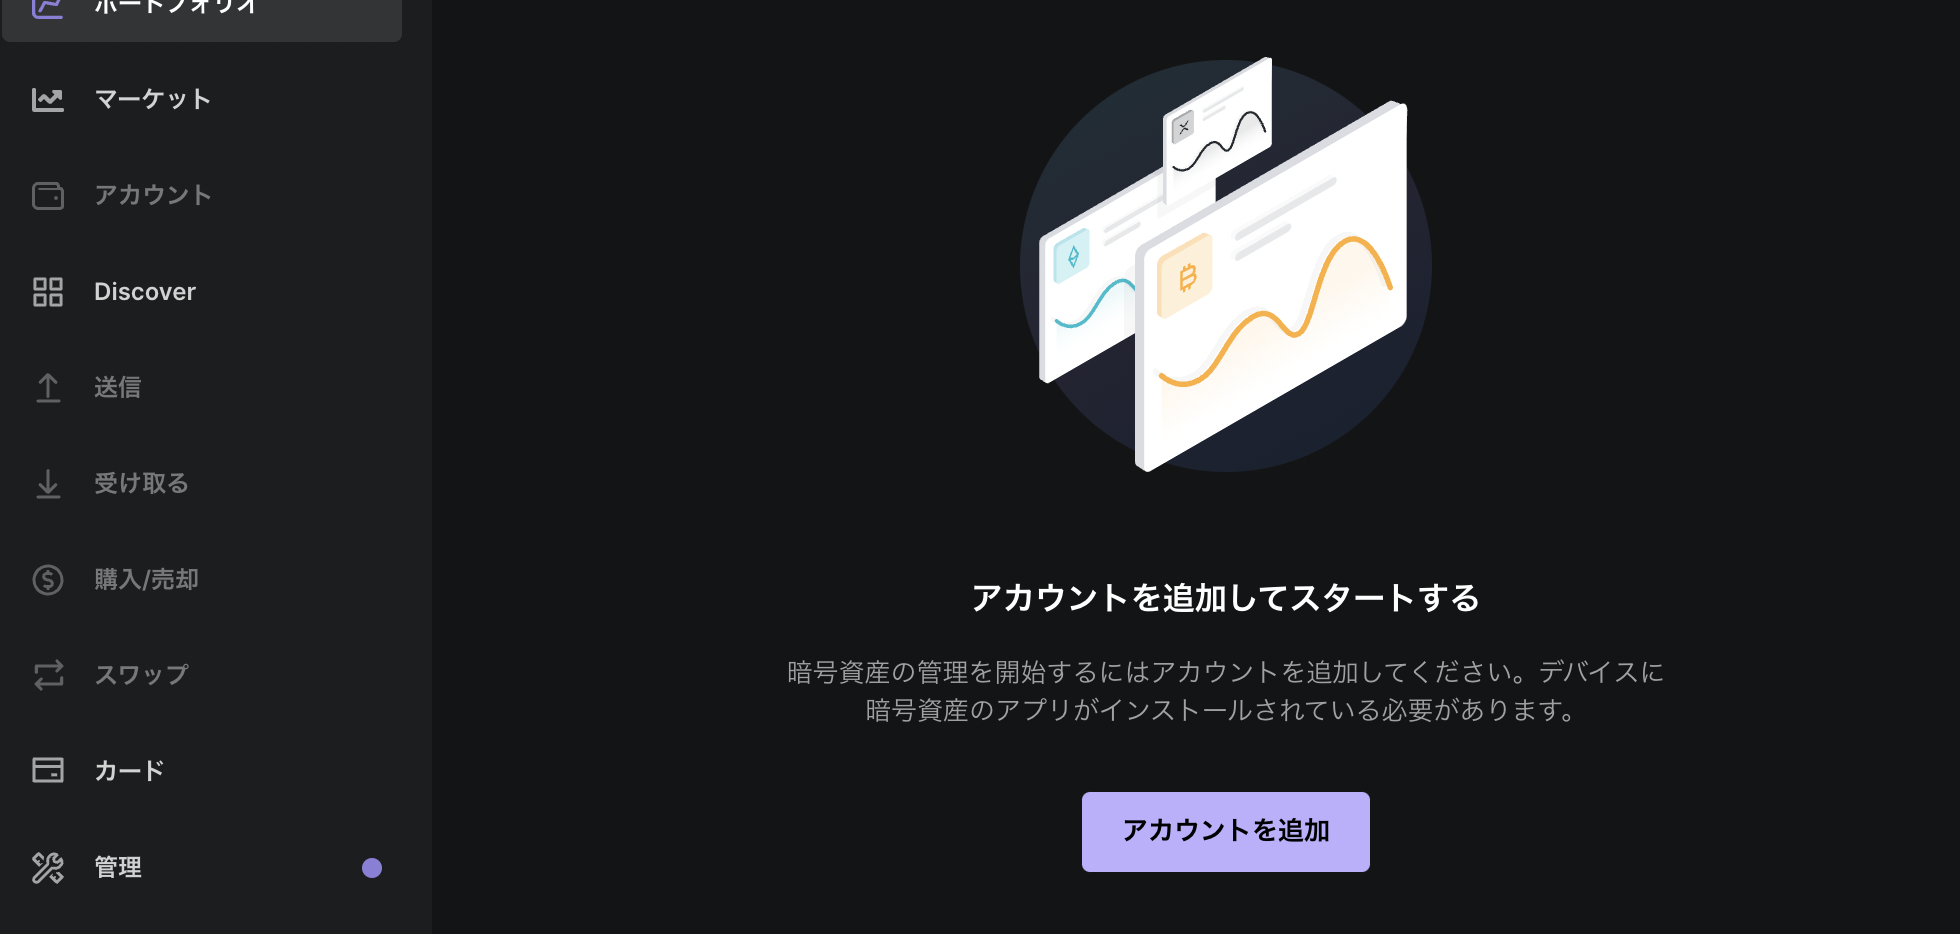
アカウントを追加を
クリックします

今回ETHを選択してみます
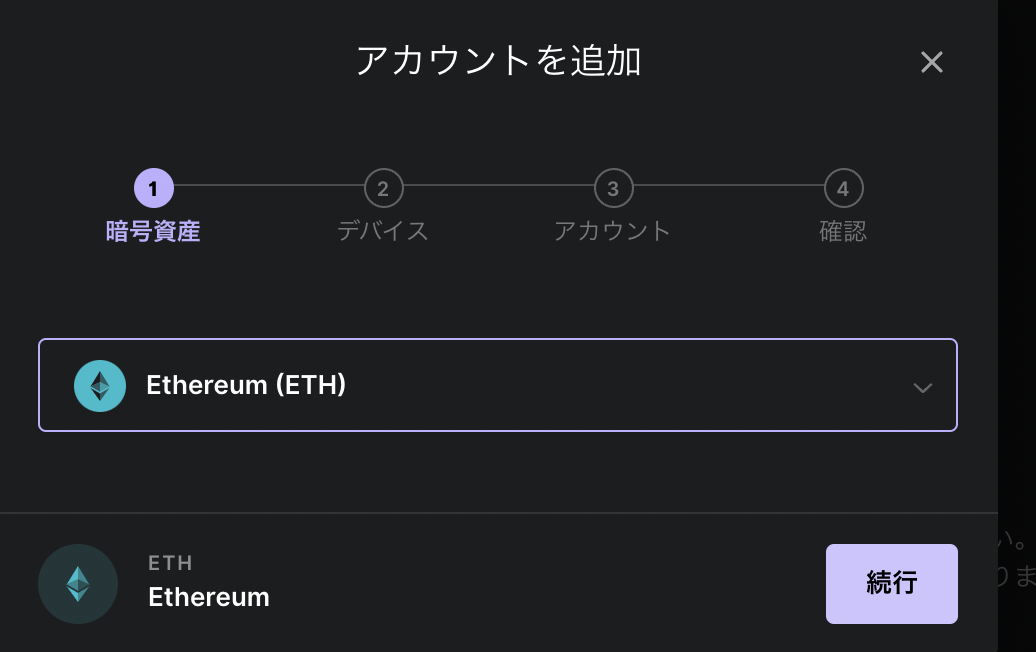
続行をクリックします
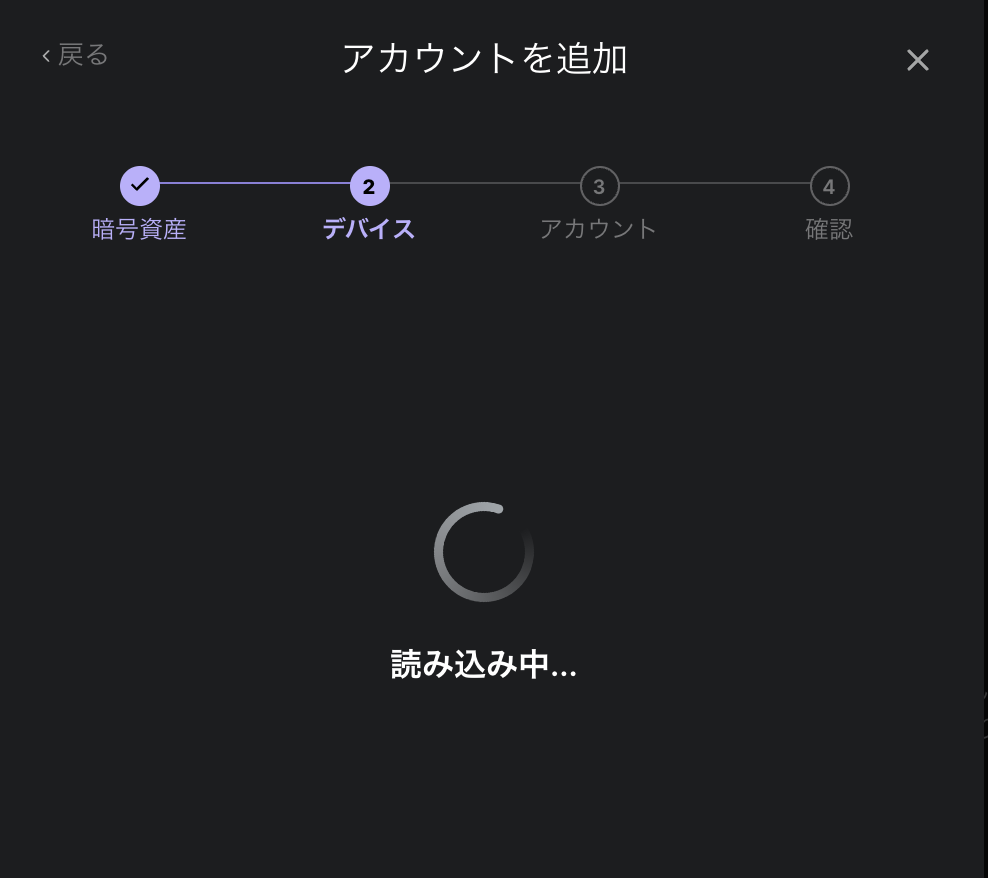
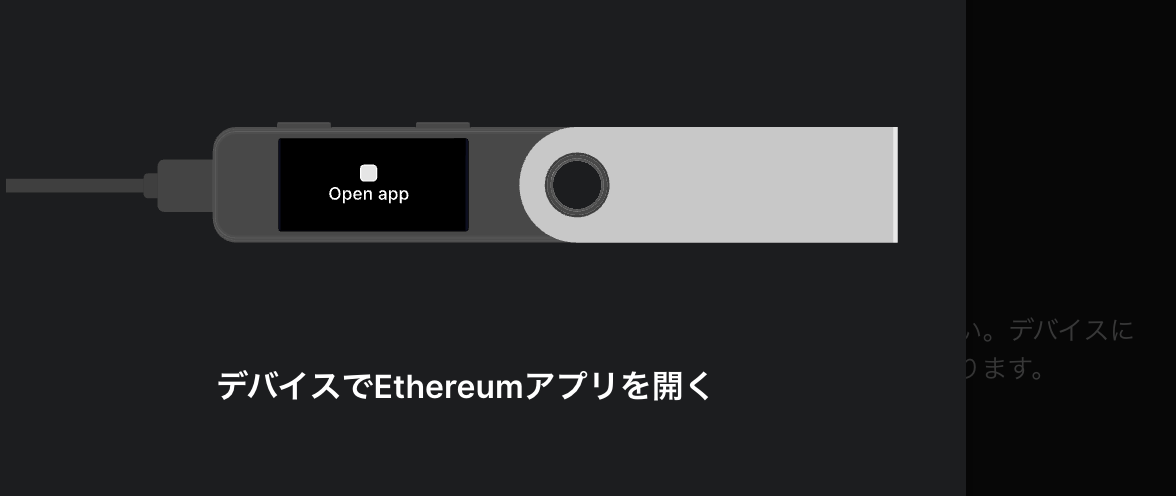
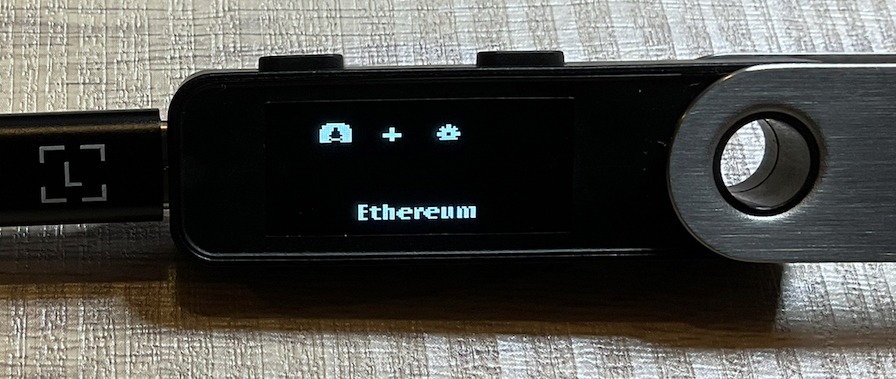
インストールができたらNano本体で
Ethereumアプリを開くよう指示が出ます
Open app Ethereumと表示が出るので
右ボタンをクリックします
アプリを開らくと

Ledger Live(アプリ) がNano本体と同期を始めます
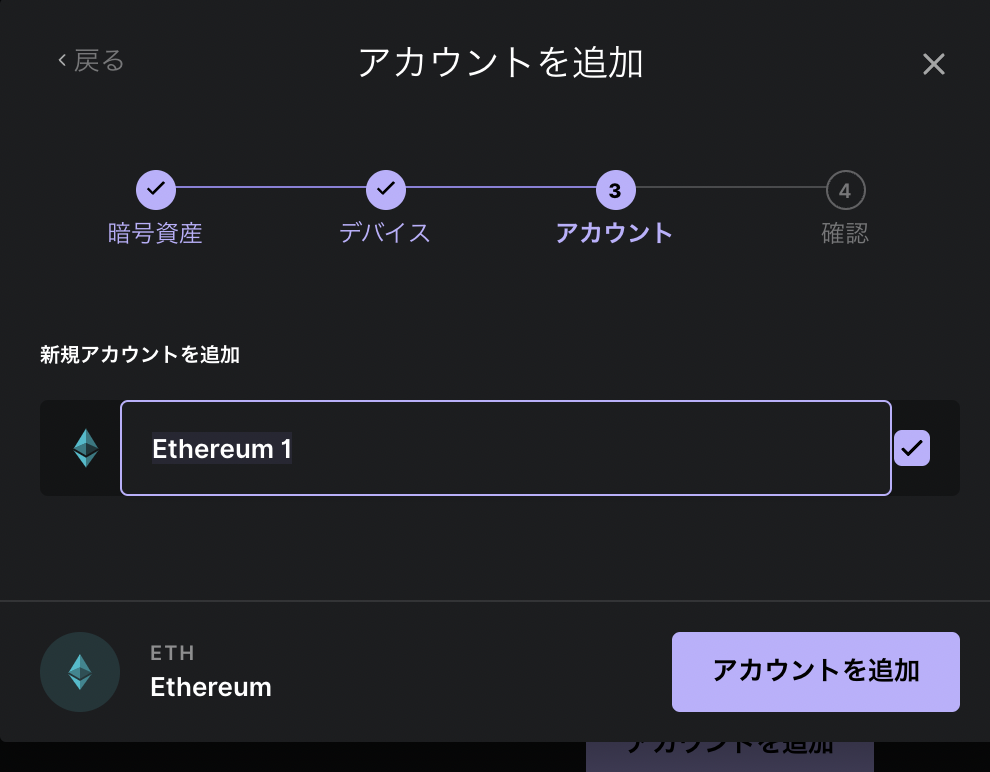
アカウントを追加
をクリックします

アカウントが追加されたので
完了をクリックします
これでLedger本体にアプリを連携させることができました
ハードウエアウォレットをメタマスクに接続しよう
あともう少しです頑張って!!!
メタマスクを未作成の人は
次の記事を参考にしてみてね
あわせて読みたい


MetaMask(メタマスク)をChromeに インストールして …
この記事ではMetaMask(メタマスク)の作成方法を説明していきます メタマスクは、かんたんに説明するとネット上の仮想通貨用のお財布。かなり多くのコインを扱えるのでと…

本体をUSBで繋ぎPINコード
を入力してロックを解除
本体を操作:Ethereumアプリを選択して決定
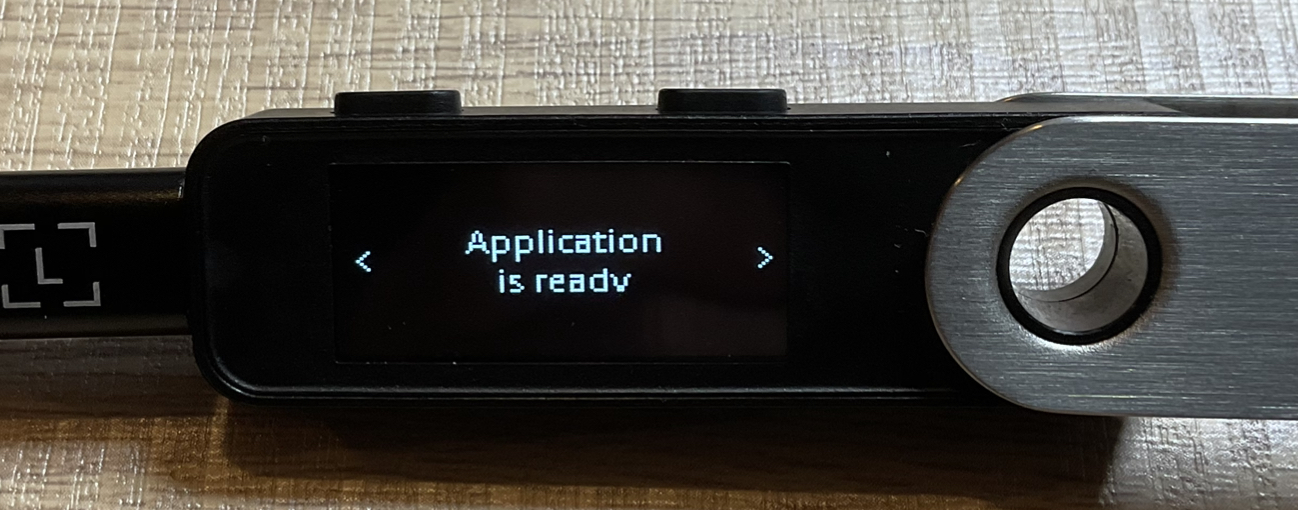
Application is readyの表示になっていれば
次からPC作業だよ
Chrome拡張機能からメタマスク(ピン留めしとくと便利)を起動します

右上の丸アイコンをクリックするとプルダウンが表われるのでハードウェアウォレットの接続をクリックします
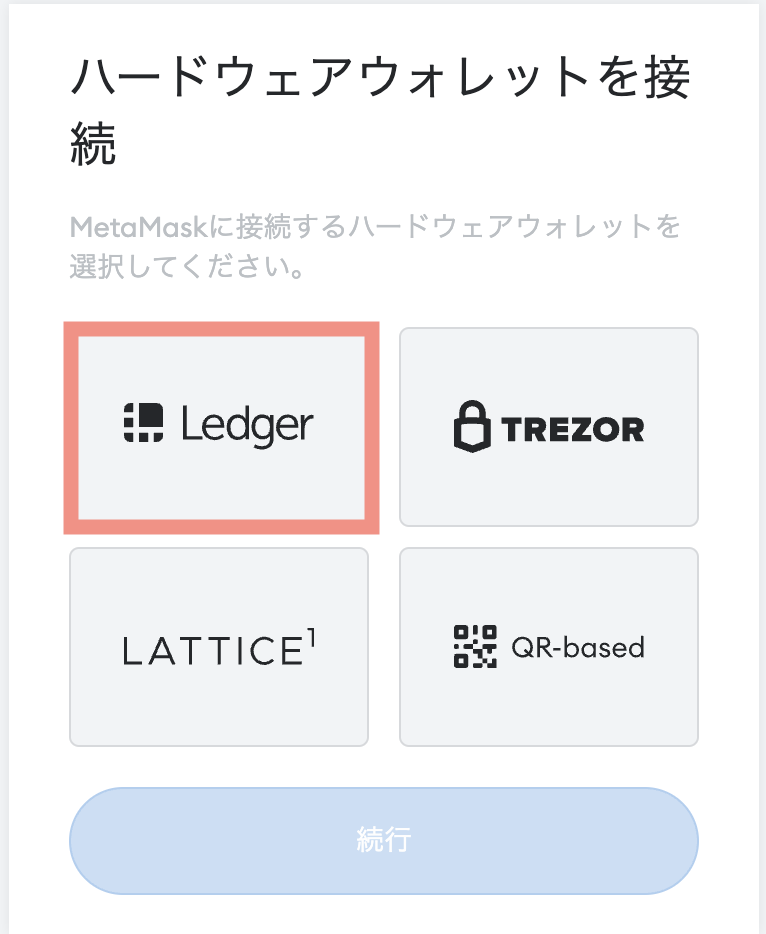
Ledgerを選択して続行を
クリックします

Nano S plusをクリックして接続します
アカウントの選択画面になるので一番上(別アドレス)を選択してロック解除をクリックしよう
これでLdger連携済メタマスクのOpen seaのページができました〜
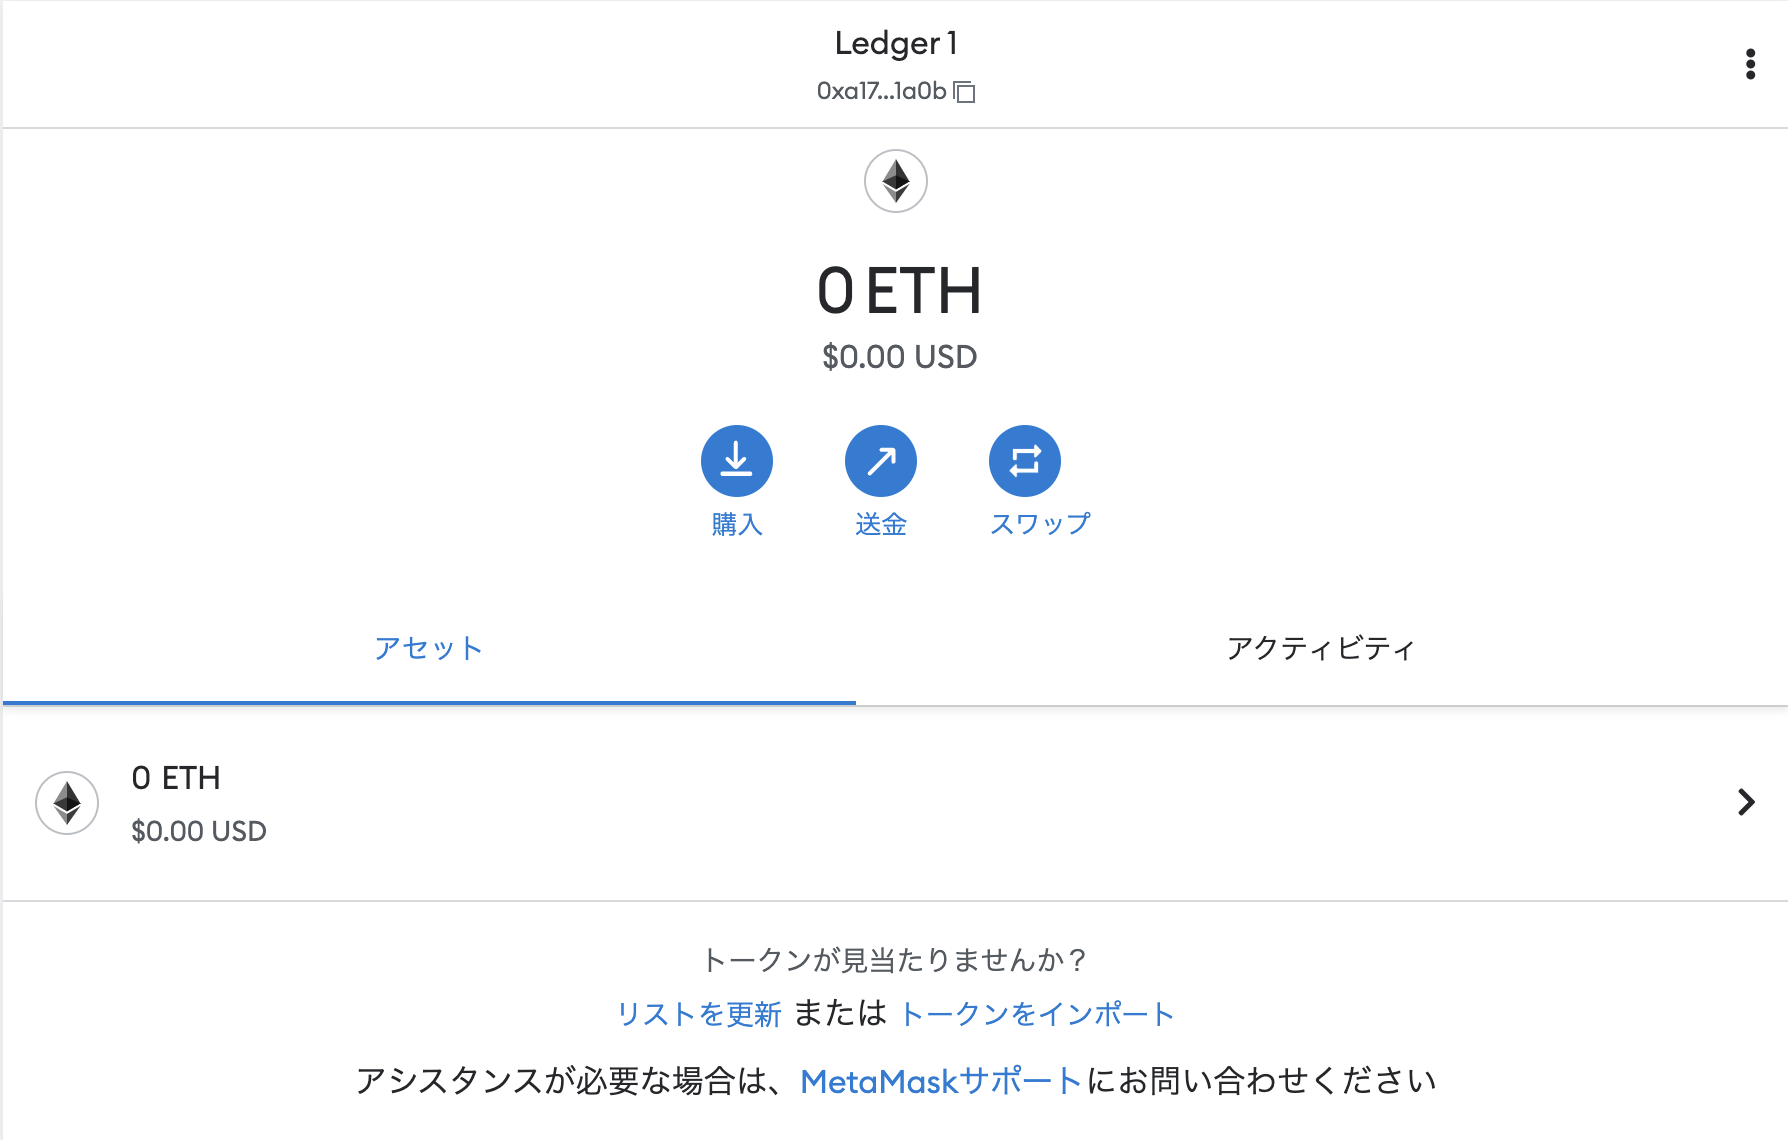
連携できたか確認してみよう
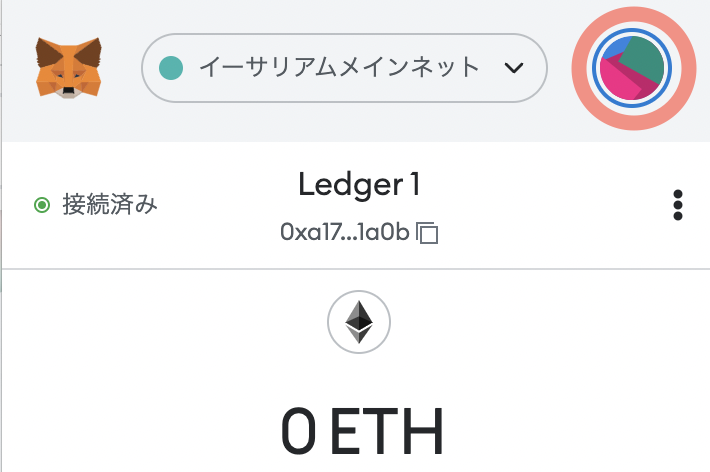
Chromeからメタマスクを開こう
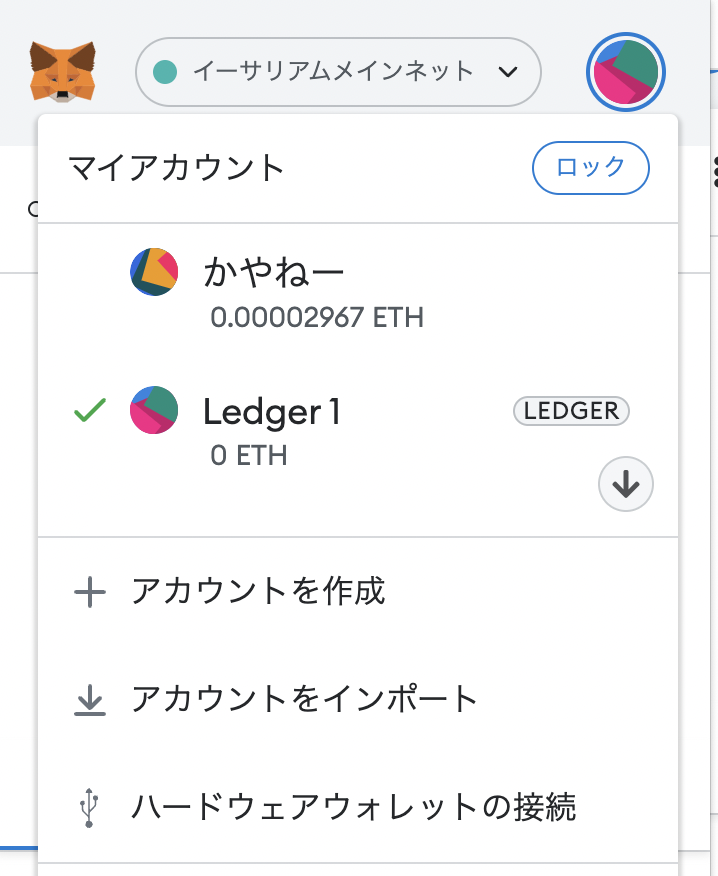
メタマスクを開いて
丸アイコンをクリック
しよう
Ledger 1の表示があればOKです
初期設定は以上で完了です
Ledger Nano公式サイトを見てみる
日本語対応しています
メタマスクからLedger Nano S PlusのメタマスクにNFTを送ってみよう
NFTを送るって
Ledger本体にNFTや暗号資産が保管されてるのかな?
本体(Ledger)と連携させたメタマスクに避難させると言っても実際にはブロックチェーン上にあります
PCにLedgerをつないで承認しクリプトを送受信します
(言い換れば)Ledgerで承認しないと送受信できません
ネットから遮断してるので
ハッカーの攻撃から守れるね
カギ🗝みたいなものです
資産の管理は複数メタマスクを作ったりブラウザを分けたりいろいろあるけど
PC内にシードフレーズがあるので完璧ではありません
Ledger使うとかなり防御力は高くなります
(ただしシードフレーズは厳重に保管すること)
Ledger Nano に連携させたメタマスクを作るよ
PCに本体をつなげてPINコードを入力してロックをはずします
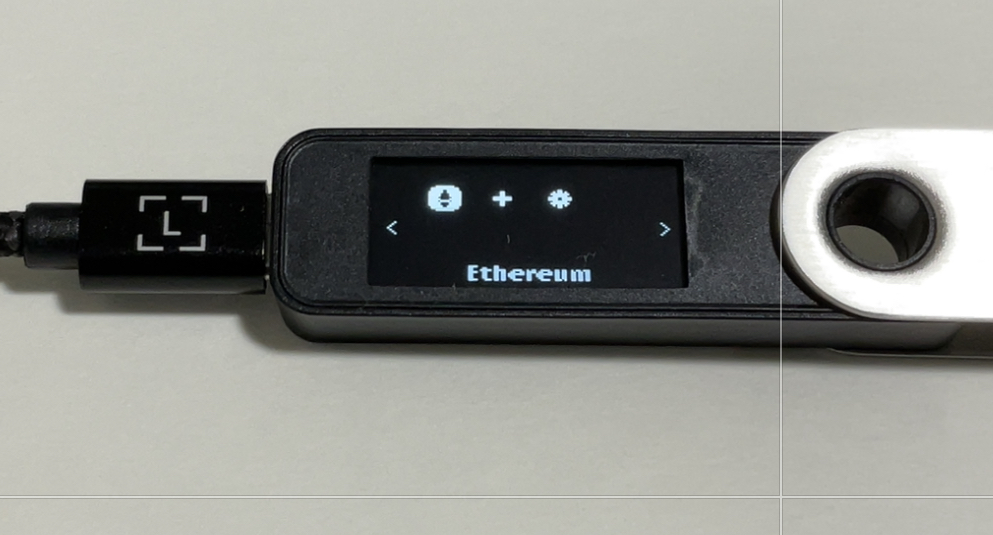
本体でEthereumを選択して

PC画面の受け入れて署名するをクリックするとメタマスクが起動します
この画面は初回のみです
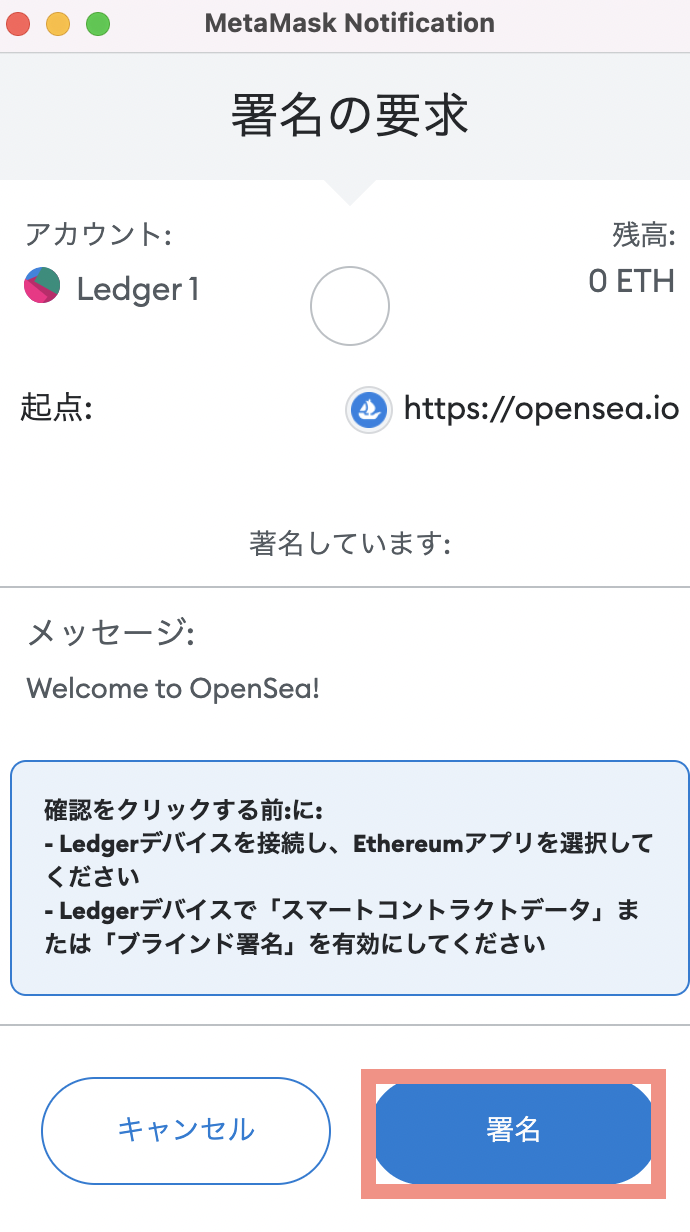
ガス代をチェックして
署名をクリックします
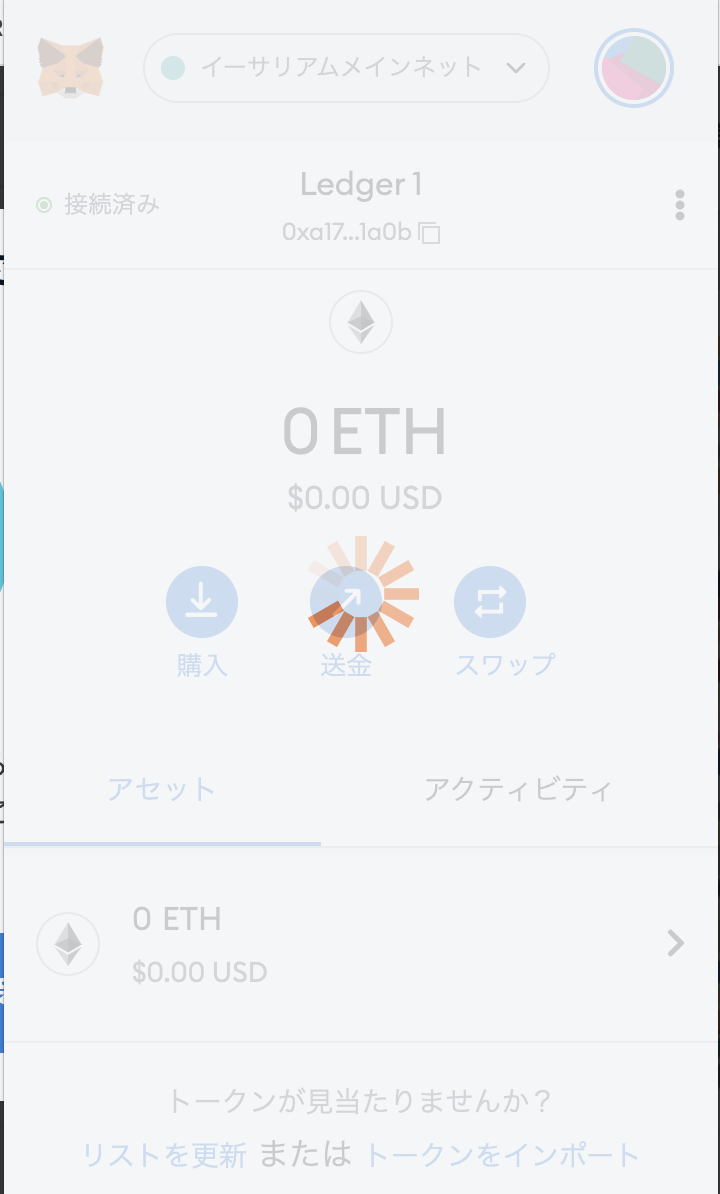
ずっとクルクルーーーと
なっている状態です
ここでLedgerで右→決定します

これで鍵付き(Ledger)保管用メタマスクができました
ここにNFT送りたいので
アドレスをコピーします
いつものメタマスクからNFTをトランスファーしてみよう
Chromeからメタマスクを
クリックして🦊を呼びます
丸いアイコンをクリックして
普段使っているメタマスクの
アカウントを選択します
コレクションから退避させたいNFTを選びます

▶︎Transfer(送信)
をクリック

送り先アドレスらんに
(先ほどコピーしたアドレス)
コピペします

確認をクリックします
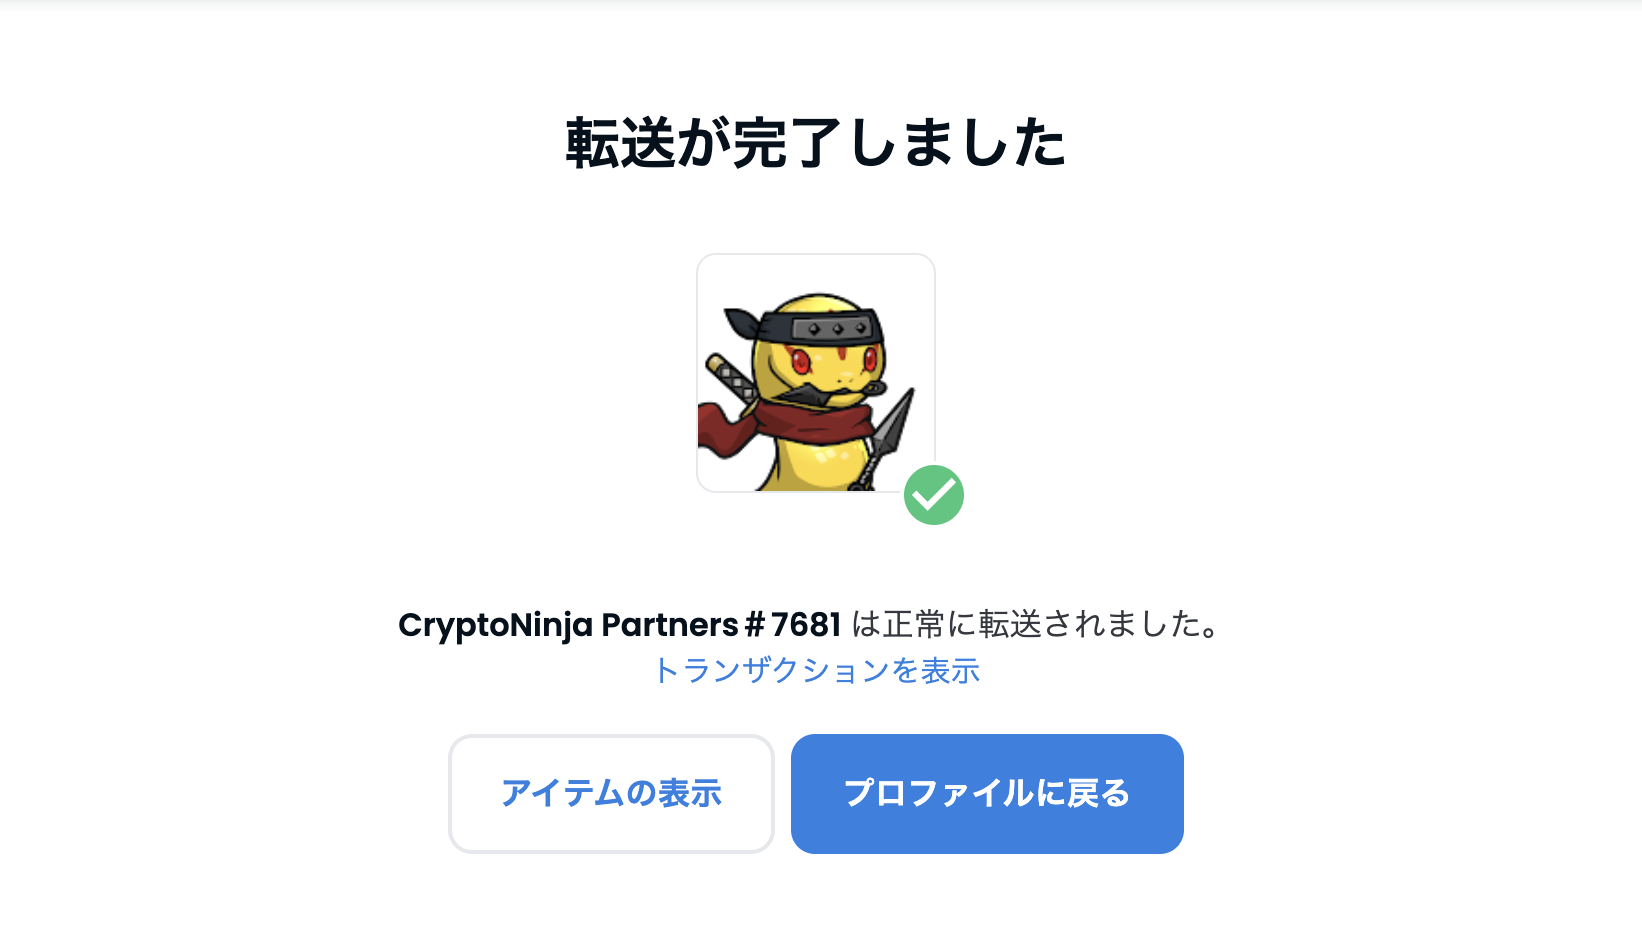
成功してるか確認してみよう
アイテムの表示をクリックするか、Ledgerメタマスクを表示してみます

このページはOpenSeaを開いた状態でメタマスクを開き、アカウントのLedgerを選択しても表示されます
無事届いていました〜
Ledger Nano S PlusからNFTをメタマスクに戻す方法
レジャーからNFTもどすには
Ledger Liveにガス代を入金しておかないといけません
メタマスクからLedger Nanoにイーサリアムを送る方法
今回はメタマスクからLedger Liveにガス代を送金していきます

Ledger Liveアプリを起動し
受け取るをクリックしよう
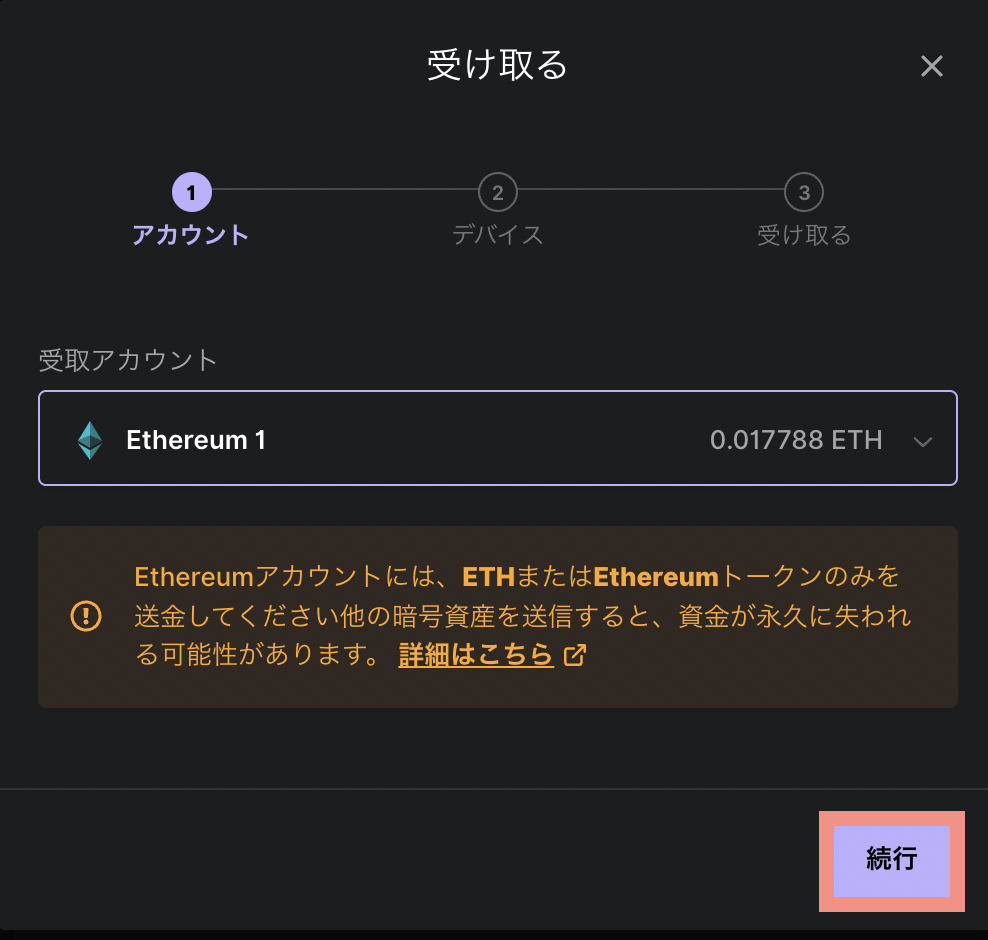
続行をクリックします

本体をPCにつないで
PINコードを入力します
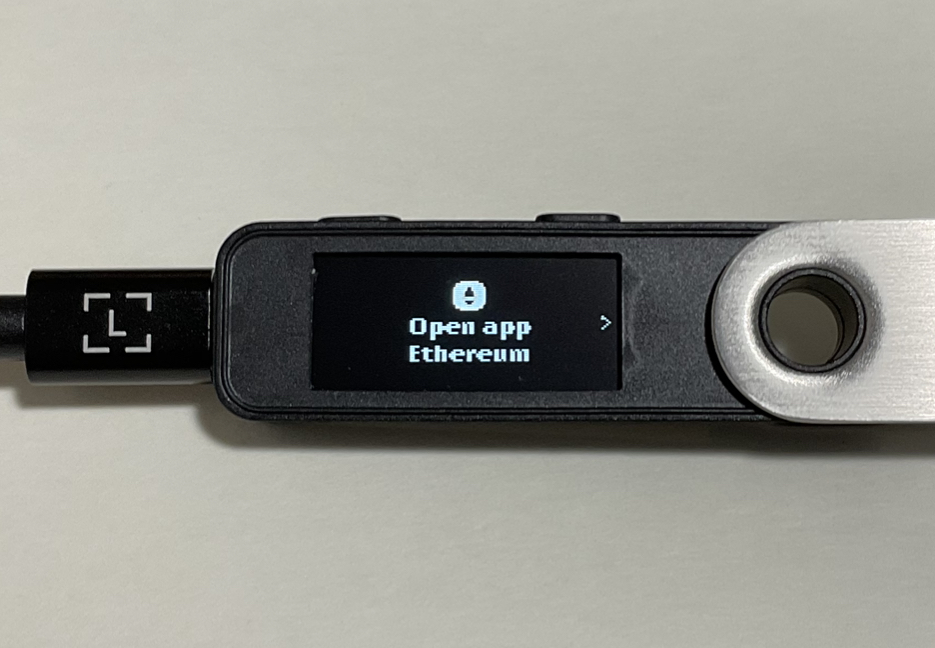
Open app Ethereum
で決定して
本体を操作します
Verify address 右へ
あなたのアドレスを確認し 右へ
aproove で決定
準備ができました

表示されたアドレスを
確認して
受取りアドレスをコピーします

完了して右上のバツで閉じます
次にメタマスクをひらきます

送金をクリックしよう
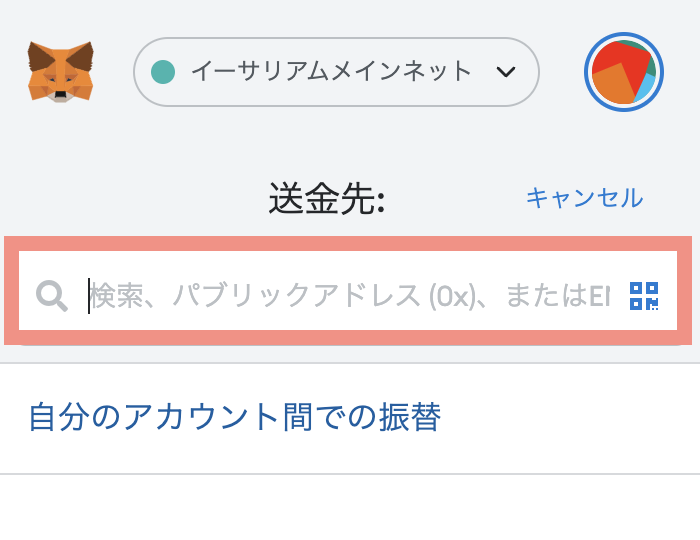
先程コピーしたLedgerのアドレスをコピペします

表示されたアドレスを確認し
金額を入力して
次へをクリックします
表示画面が変わるので
ガス代を確信して確認をクリック
これでLedgerに送金ができました
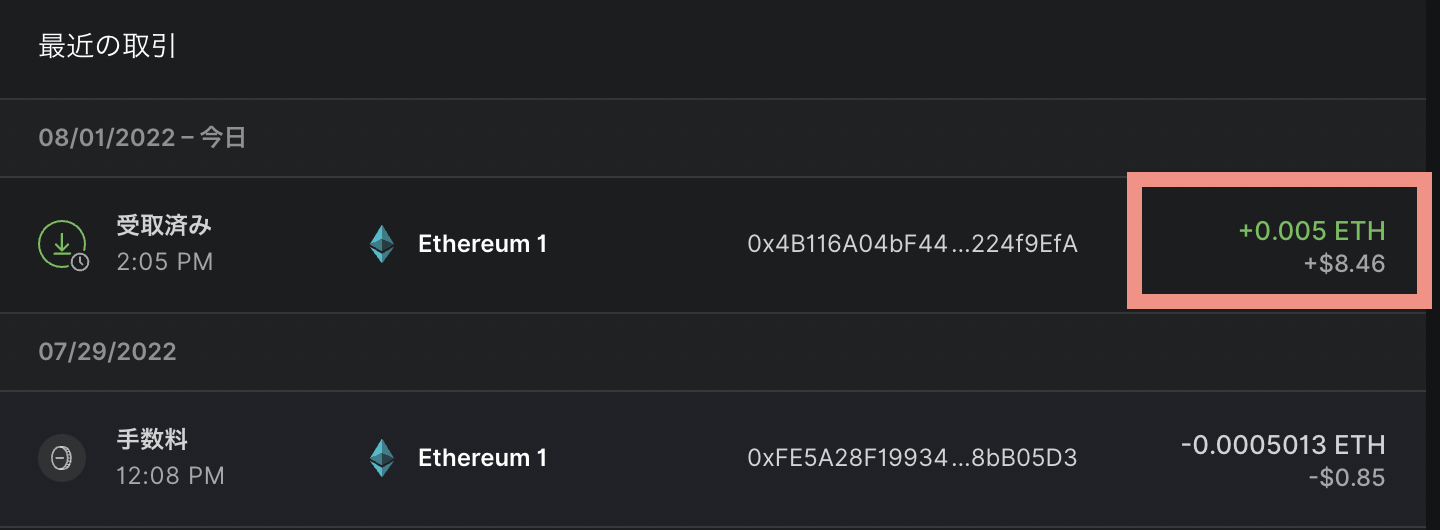
ダッシュボードを確認
0.005ETH入金されてました
着金されるまでドキドキ…
もし途中でわからなくなったら本体を抜いて初めからやり直しましょう
データーが消えたり、勝手に送金されることはありません
あせらずにアドレスを確認しましょう
アプリ(コイン)を間違えないようにしよう
Ledger Nano にあるNFTをメタマスクに送ってみよう
Ledger Liveのアプリを開いて送信したいNFTを選びます
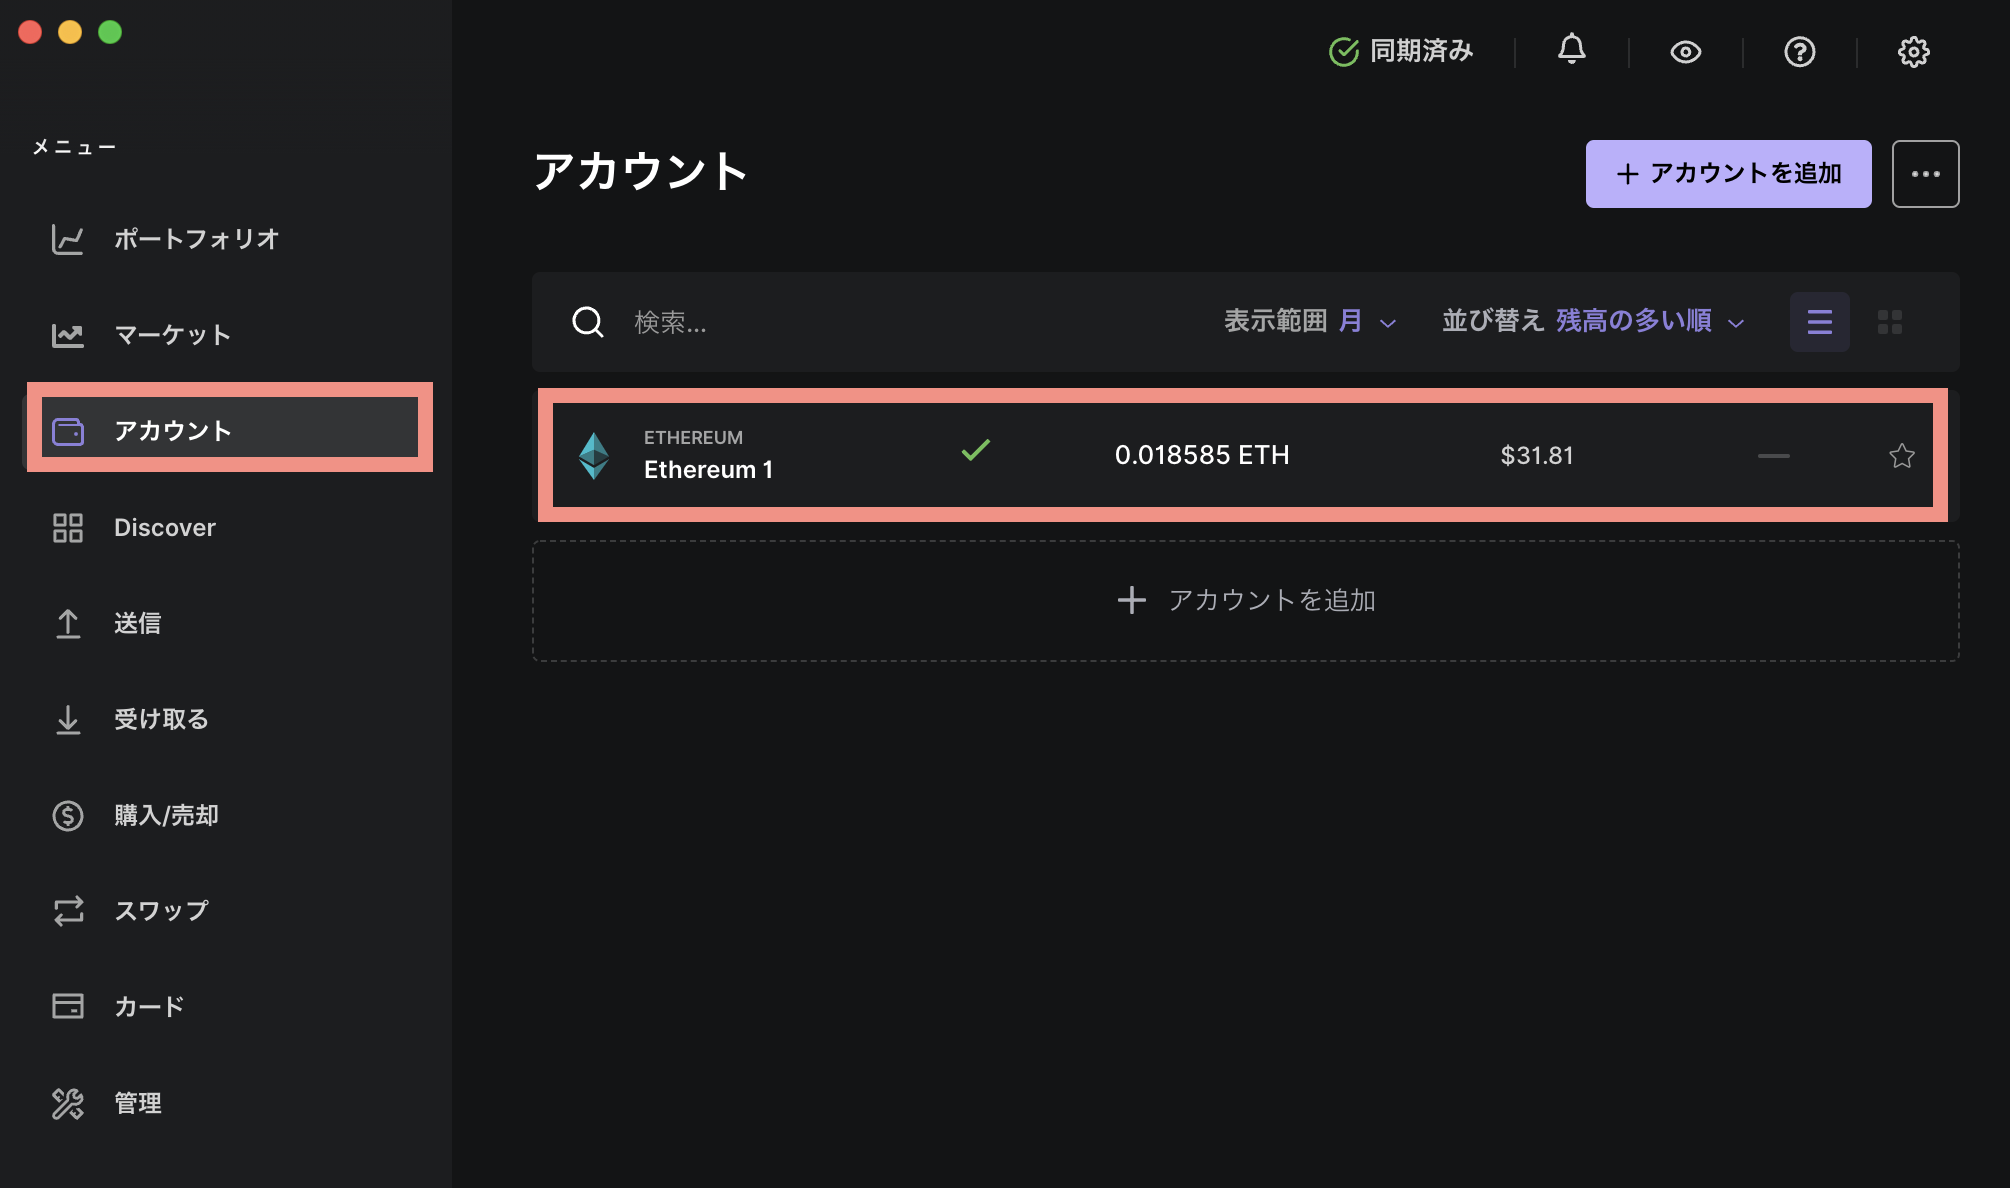
ダッシュボードのアカウントをクリックして、さらにEthereumをクリックして下にスワイプします
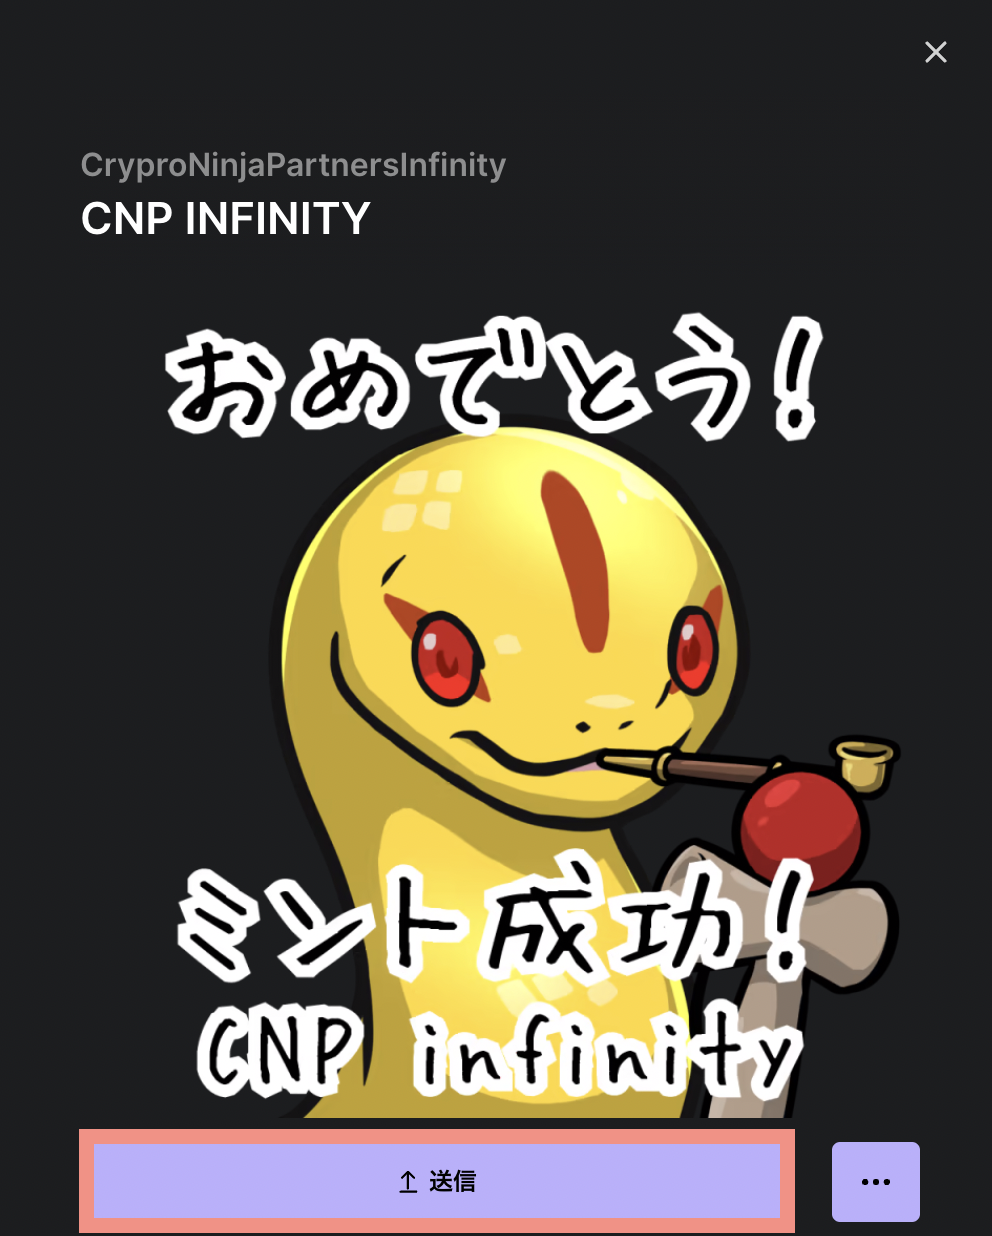
コレクションの中からNFTを
選択して送信をクリック
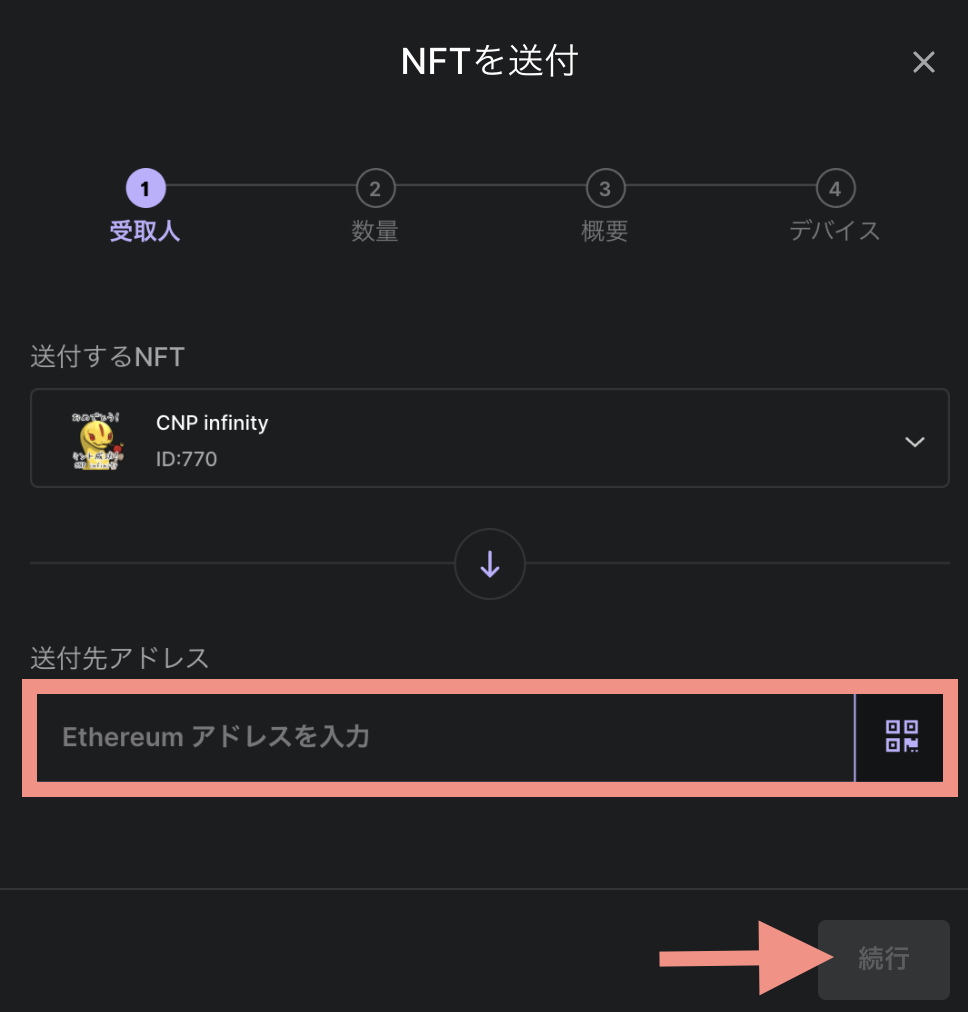
この画面のまま
送信アドレス入力するために
メタマスクを立ち上げます

(送信先の)アドレスをコピーします

Ledger Live アプリに戻り
(2つ前の画像)
送信アドレスにペーストして
続行して
ガス代を確認して続行をクリック

内容を確認して続行します
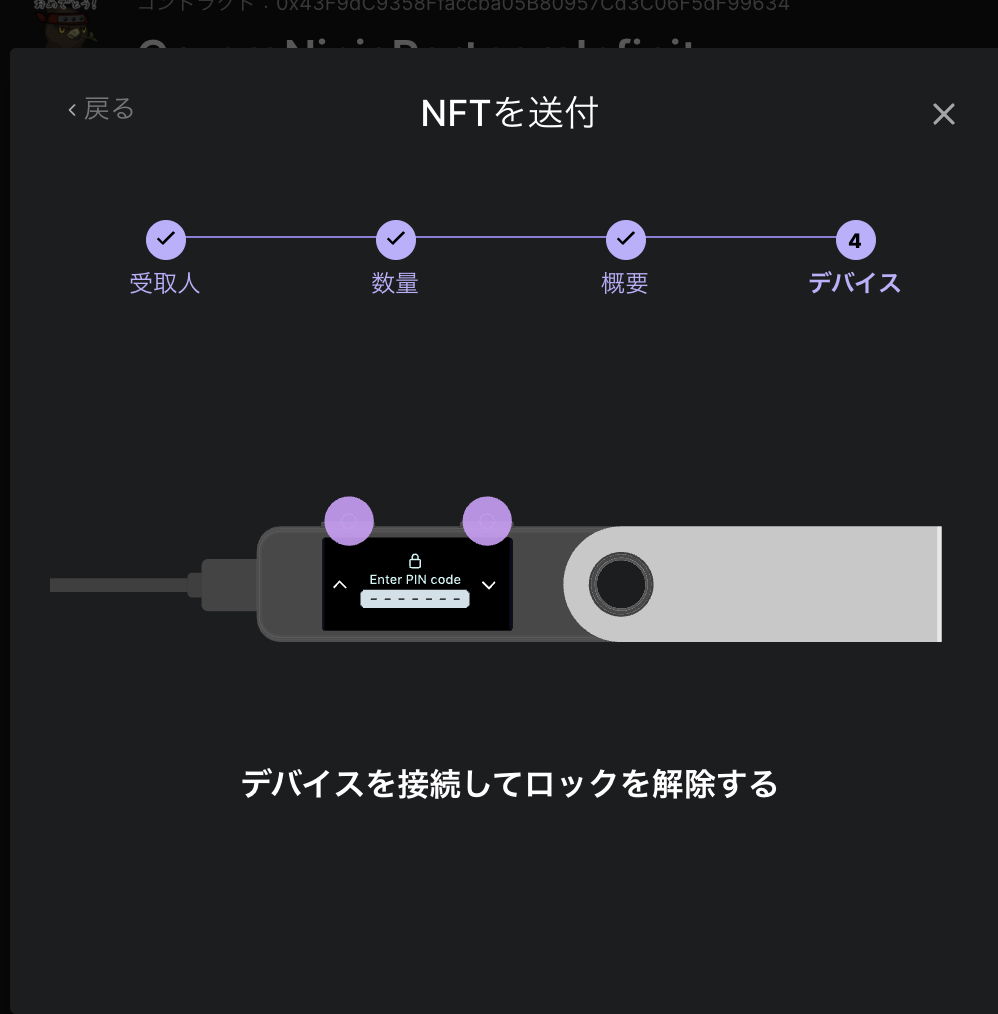
Ledger NanoをPCにつなぎ
PINを入力して
Ethereumを選択します
右に進みながら進めます
間違ってもボタンが効かない
だけなのであせらず進めよう
決定して
Verify selector 右へSelector…右へ
Approveで決定
Verify右へParameterの表示 で右へ
Approve決定
Verify右へ Parameter表示 右へ
Approve決定
Verify右へParameter表示 右へ
Approve決定
Verify右へParameter表示 右へ
Approve決定
アドレス表示右へNonce右へ
Max Fees右へ
Accept and send決定


元のメタマスクに戻せました
私はOpen SeaのMoreの中のHiddenに入っていました
Open Seaで購入する前にブラインド署名の設定が必要です
次の記事で解説してるので参考にしてください
あわせて読みたい

Ledger NanoでNFTを購入する方法(ブラインド署名)とcollablandへの接続方法
Ledger NanoでNFTが買えない collablandに接続できない こんな悩みありませんか結論から言うとはじめにLedger Nano本体で設定をしないといけません Ledger Nanoはハード…
今回はお疲れ様でした〜
はじめの設定がちょっと大変だけど、
少しなれてくると家の鍵みたいな感覚で使えるようになりそうです
ぜひ使いこなしてみてください